Wednesday, November 24, 2021

Quick and Easy Christmas Tags


Hello and welcome! Today I am given the honor of being Guest Designer at The Funkie Junkie Boutique blog. If you are a regular follower of the challenge blog you know the current challenge is Tag It. Lucky me; an easy challenge and so timely to help me get a jump start on my Christmas crafting!

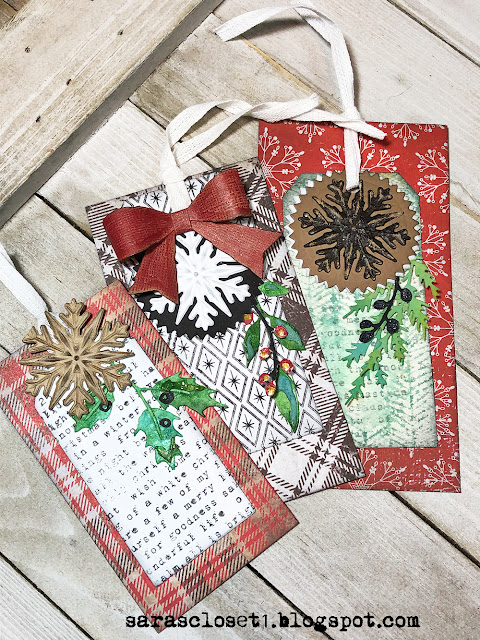
First, here are some close ups each of my swing tags. I will share some easy tips for quick holiday tags near the bottom of this post.


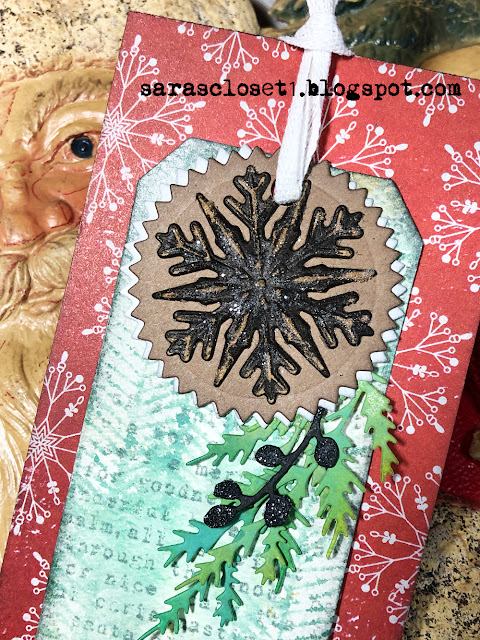
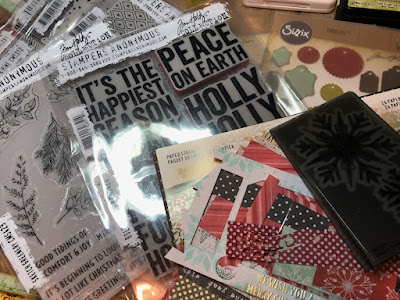
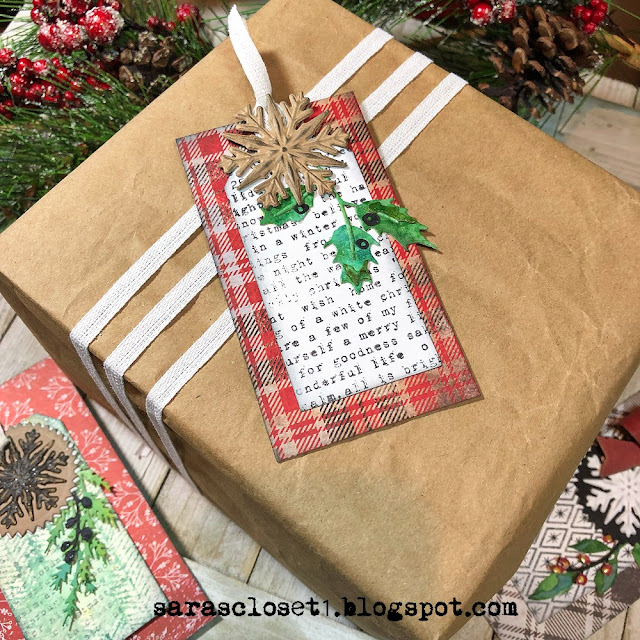
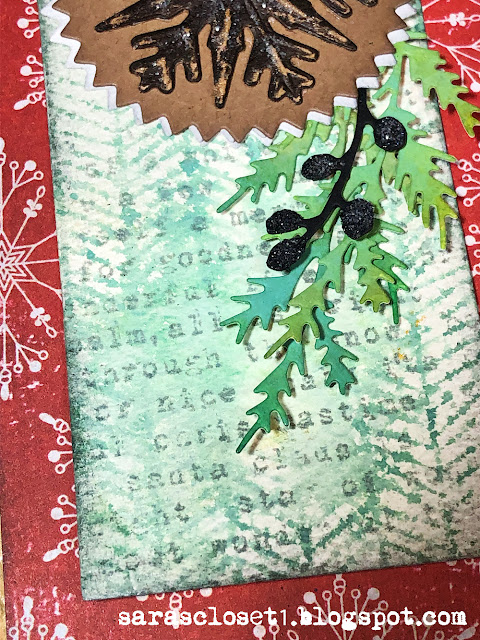
For this one, I stamped on a watercolor panel with background stamps-Pine and Holiday Type by Tim Holtz. Ink the stamp, spritz with water and make the impression. I die cut the tag using Stacked Tags.


All greenery is from Festive Bouquet. I die cut two medallions with Gift Tag dies to back my Impresslit snowflake--one white and one  kraft . I cut the snowflake from Kraft Stock heated Ranger Frosted Crystal Antiquities powder and quickly added Distress Glitter and heated it again to bake the glitter onto the flake. I did the same on the berries.


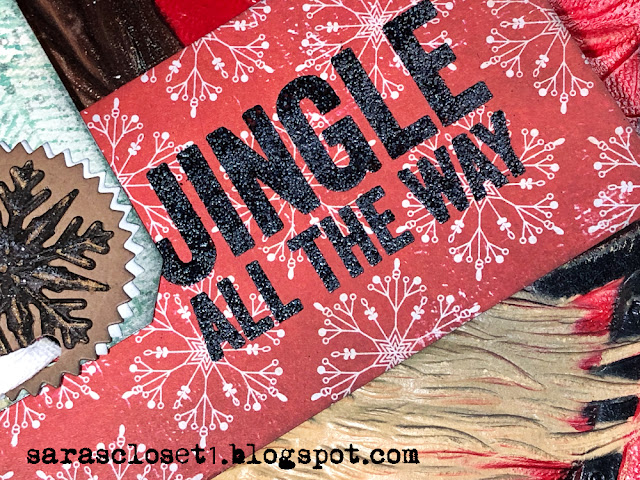
The tag swings away from the background panel that is embossed with a Bold Tidings greeting.


For the next tag, I used the Holiday Type again on a smaller die cut tag. I can swing the tag away and write a personal message on the back of it.


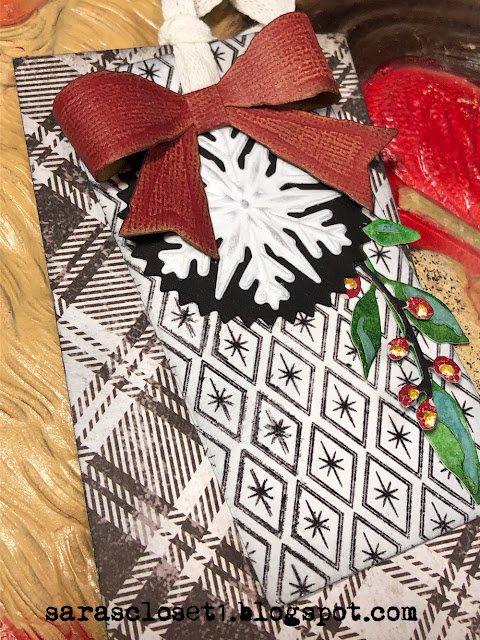
This one's my favorite. The paper die cut bow is from an old Tim Holtz set called Fold Up Bows, but Tim's new Vault set has the same bow. You can see I shaped mine a little differently by cutting off the ends and repositioning them before gluing.


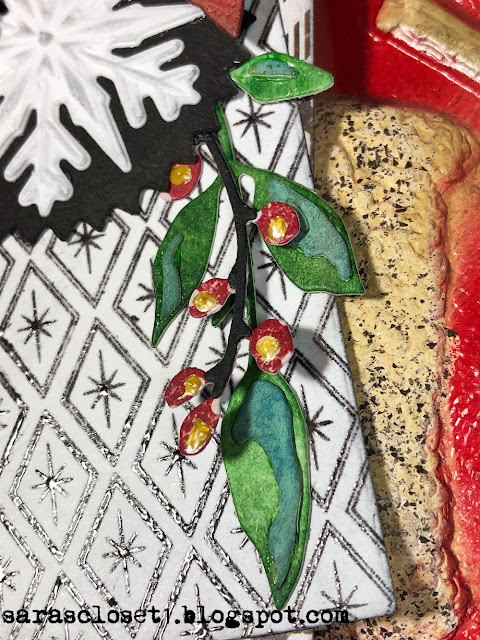
The Sparkles background stamps is one of my favorites, and this time I've stamped in Black Soot ink and heat embossed in clear. A dot of Liquid Pearls adds more shine on the berries.

* * *

And now for a few quick tips to make your holiday crafting fun and time-saving. After all, don't we have plenty to do this time of year? Start by rounding up your favorite Christmas papers, stamps and dies.

1. Set your things up to work in an assembly line fashion.  I approached my tags from die cutting/embossing my snowflakes first and worked back from there, choosing scraps that complimented each snowflake, then stamping and die cutting all my 'main' tags. Then I die cut my foliage and Gift Tags. Then blended all my pieces with ink, then glued and assembled.

2. Use designer paper scraps for background panels. Not only does it save time, it adds color and prevents waste. Most of my saved off cuts were just the right size! All you have to do is punch a hole and blend the edges with a dark ink.

3. Choose a central theme and or color scheme; I decided  to use my new to me, but already discontinued Snowflake Impresslit as my common denominator and chose a traditional color palette. 

3. Personalize your tag with additional tags using lighter colored premade backgrounds--you know those ones you saved when you were trying out your new sprays and inks. Or you can make some quick tags by stamping white or cream card with a favorite background stamp like I did. I just stamped one large sheet and then die cut areas of the card with Stacked Tags dies. 

4. Make your tag extra special by using up those little die cuts you have from previous projects and adhering them to a shaped tag. Or even simpler, stamp your smaller shaped tag with a festive image--there are some great ones in Tim's Holiday Things.

Thanks for stopping by! Wishing all of you who celebrate Thanksgiving a blessed day with family and/or friends! Sara Emily

Simon Says Stamp Wednesday: Anything Goes

Country View Challenge Christmas Gifting November


Wednesday, October 27, 2021

Haunted Shaker Cards

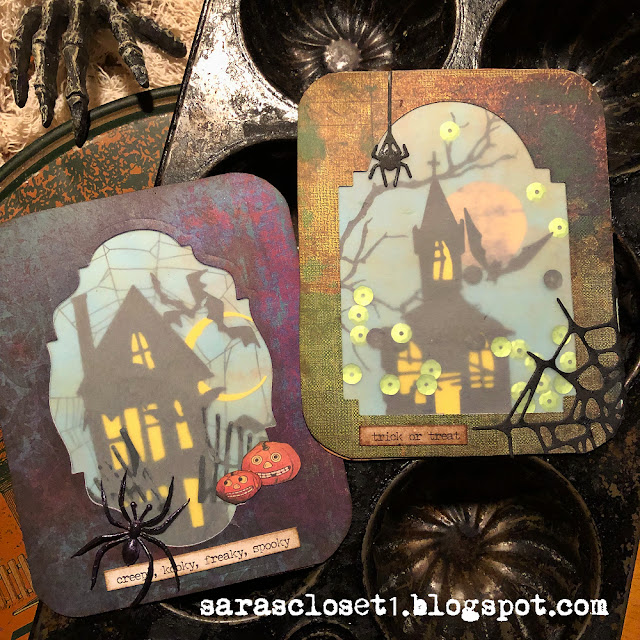
 Hello again! Surprise--second post in one week! I'm slowly stretching my creative muscles again, having taken quite a bit of time off from making due to real life circumstances. My daughter liked her card so much she asked me to make a couple for the twin boys she occasionally baby sits for. I chose to make these a bit less ghoulie, more giggly, since they are still young.

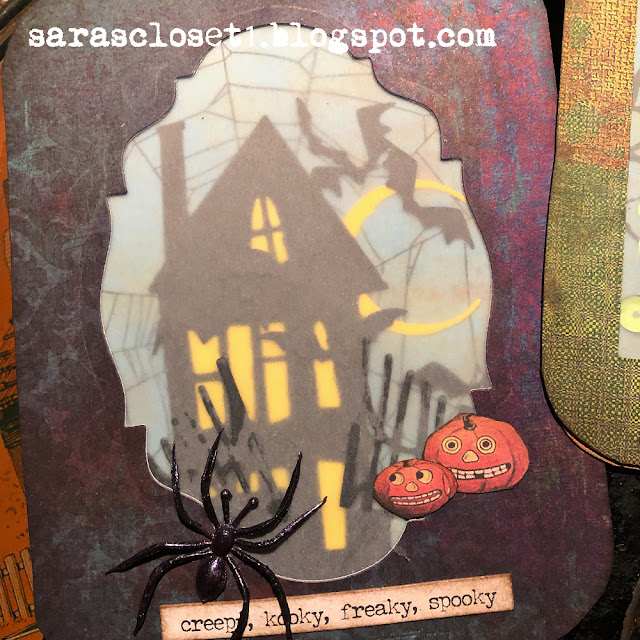
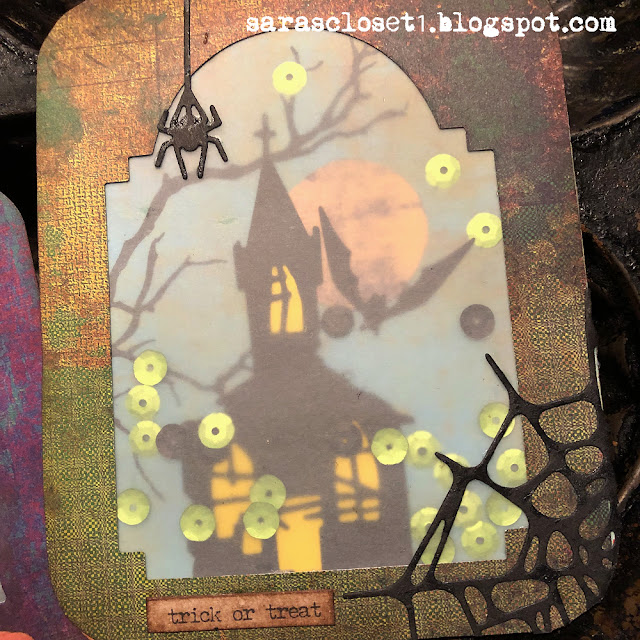
Here's a closeup of each of the shakers. They are made pretty much in the same way as my daughter's card, starting with those rescued tags from my husband's gym bag, covered front and back with paper from my stash.


This time I did some stamping in Archival Black Soot ink. The spider web is from Tim Holtz Tangled Webs set and the tree is from Mr. Bones set. Die cut church and house are from Ghost Town. The full moon is fussy cut from the same piece of paper I used for my daughter's card.  

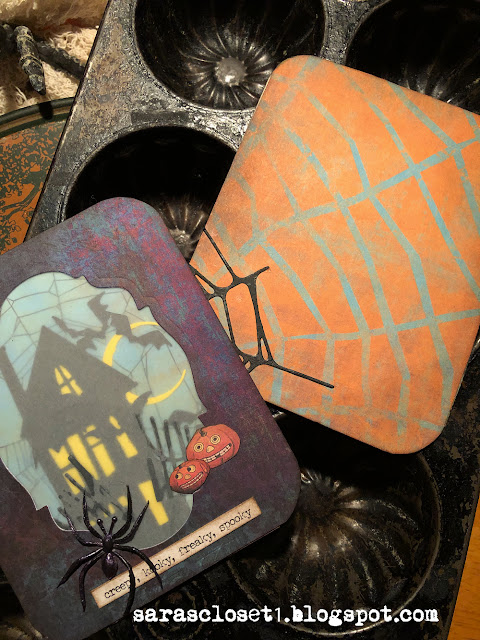
I used the cut off pieces of the gate from my daughter's shaker card.  The bat on the church scene is from Bat Crazy and the Crescent Moon is from the Haunted House Thinlits set. 

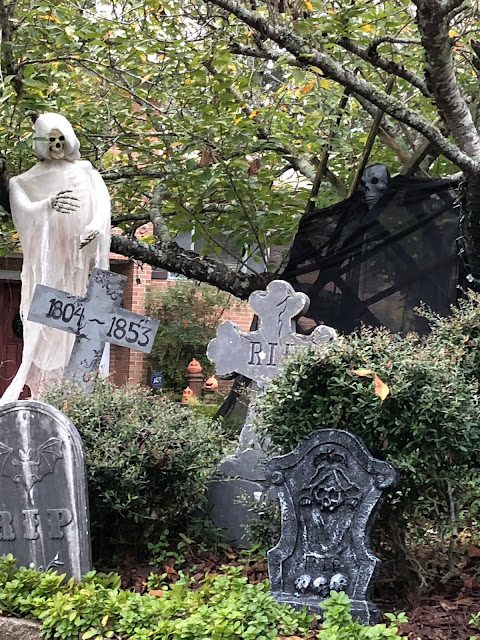
I chose paper from Abandoned Paper Stash and cut windows with Stacked Baroque and Stacked Archway Thinlits. Spider and Web die cuts are from the Spider Web set. Die cut bats used as shaker filler are from Haunted House and Gate Keeper sets. I used Halloween Small Talk Stickers and pumpkins fussy cut from Tim's old Halloween ephemera pack. They remind me of my terra cotta pumpkins in my garden (shown below).

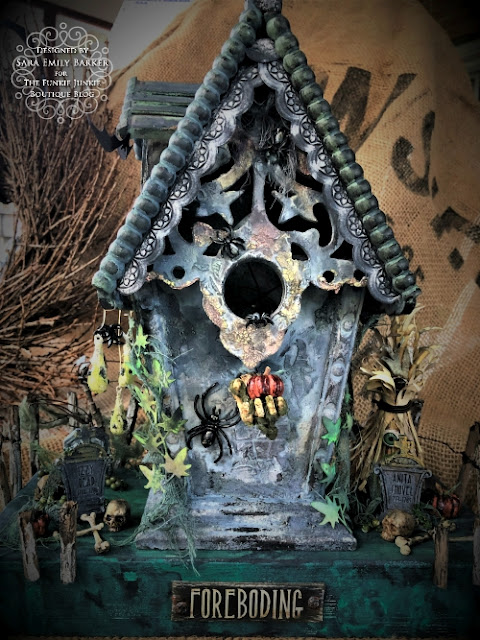
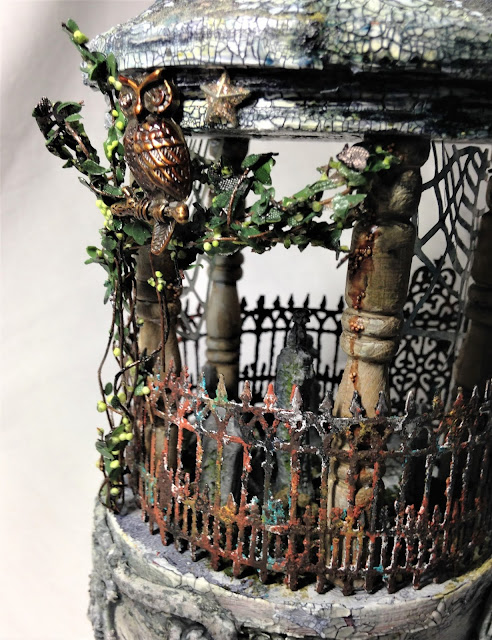
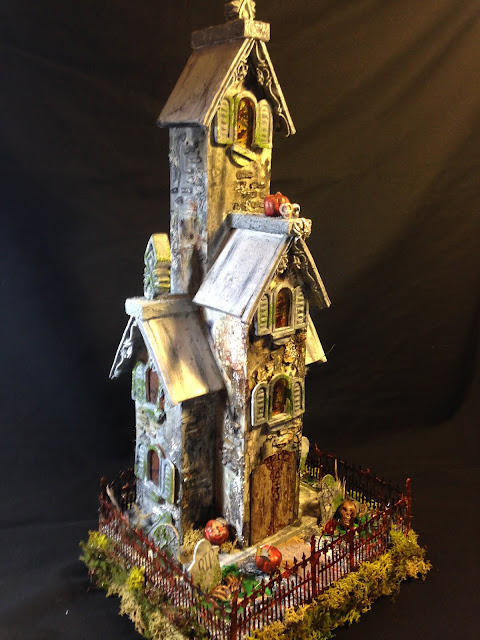
That's all for me! I took a break from making my usual Halloween altered birdhouse this season, as my display is full. Please take a peek at passed year's makes shown below...I've included links to each below each photo, so you can enjoy the details if you would like. Until next time, Happy Haunting!

I'm sharing my shakers with The Funkie Junkie Boutique Blog in their Grunge, Ghouls or Giggles challenge.

A Little Glimpse of Our Haunted House

An Altered Birdhouse

It's Halloween

Spooky Graveyard

Haunted Mansion

Sunday, October 24, 2021

Shake Well

 Hello and welcome! Most people who have been regular visitors to my blog know that I love Halloween! My daughter shares my love of this creepy, kooky, freaking spooky season so I decided to make her a special Halloween card to keep her 'spirits' up until she can visit Halloween weekend.

My husband pulled some tags off a new gym bag yesterday, and I saved them, thinking they might come in handy. I used one of them as my base for this shaker card. I covered each side with Tim Holtz prior year's Halloween paper stash. I fussy cut a moon from some old designer paper I found in my stash. You might catch a glimpse of that old spooky moon in the photo above. I added a gate die cut (Tim Holtz Gate Keeper) to complete the background scene. I cut a panel of Kraft Core card to fit the front and die cut a window (Tim Holtz Stacked Archway), sanded it and adhered vellum to the inside. 

A bat from  Bat Crazy flies around out front, but if you look closely, you can see some bats (Tim Holtz Haunted House and Gate Keeper) flying around in the foggy background along with some spooky sequins.

I used a label, a jack-o-lantern fussy cut from a card and this Shake Well piece from one of Tim's previous year's Halloween ephemera packs. The label is colored with Ground Espresso ink and I added a Halloween Remnant Rub. The creepy girl is from a Halloween Paper Dolls pack, and she is colored with Seedless Preserves and Picket Fence crayons and Ground Espresso ink. I used Ground Espresso and Seedless Preserves on the Shake Well tag.

Initially I wrapped design tape around the edges to hide the foam between the layers, but I didn't like how it looked. I ended up covering it with died cheese cloth.

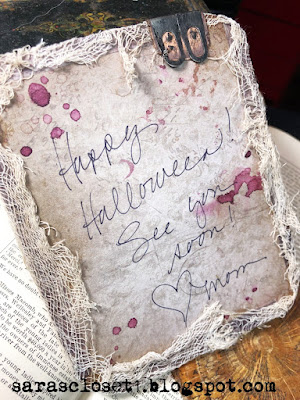
The number index clips are from my stash and colored with Black Soot paint and White Gold Metallic Wax by Prima. Here's a look at the back, where I splashed some watery inks and wrote a quick message.


I hope you are enjoying crafting something for Halloween or perhaps getting a start on your Thanksgiving or Christmas card making! Either way, happy crafting!  

Sara Emily


Monday, October 18, 2021

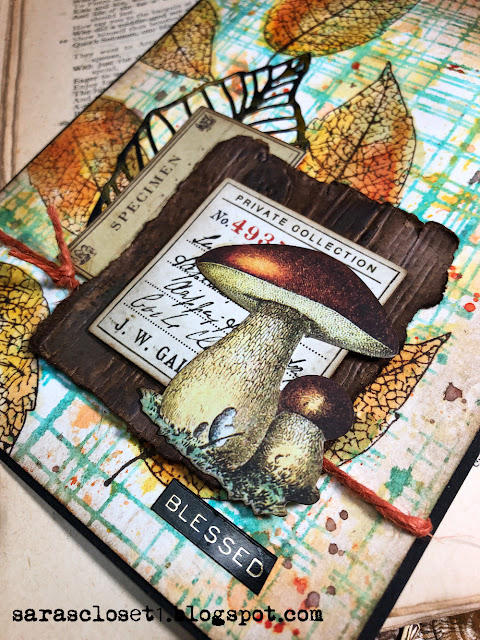
Blessed Fall Leaves Card


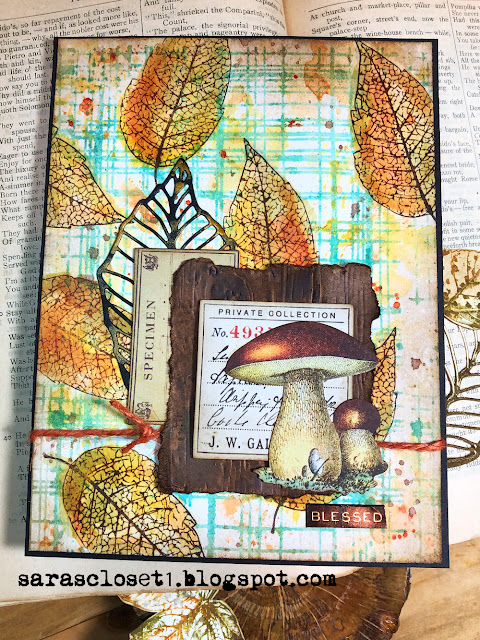
 Hello and happy fall! I love this time of year with bright blue Carolina skies and vibrant leaves! Inspired and blessed by the autumn beauty, I decided to make a card to celebrate the season. This will make a great Thanksgiving greeting to send to those I won't get to see in person this year.


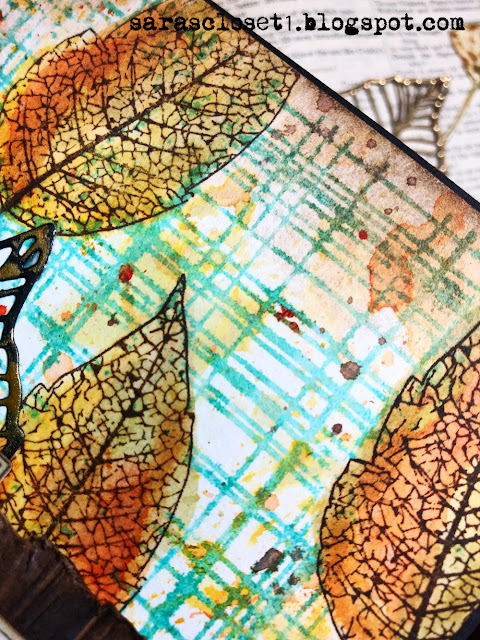
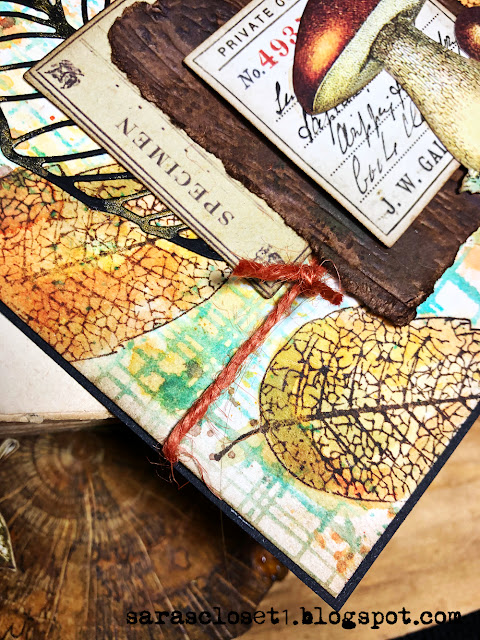
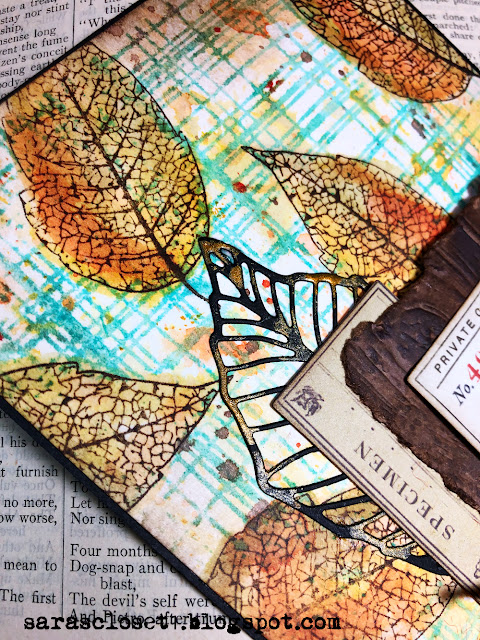
To make the background, I stamped the leaf image from Tim Holtz Pressed Foliage in Ground Espresso Archival ink and colored with Distress inks: Fossilized Amber, Wild Honey, Rusty Hinge, Forest Moss and Crackling Campfire. I smooshed the leftover color onto the background and dried between each color. When the leaves are done, I applied Distress Microglaze with my finger; mostly covering the leaves, but being a little haphazard with my application. I splattered with more of the same colors and then stamped with the plaid stamp from the Lumberjack set. I inked the stamp with Salvaged Patina ink and spritzed it with water before stamping on my background. For the most part, the leaves have resisted the Salvaged Patina because of the layer of micro glaze. The edges are blended with Ground Espresso Distress ink.


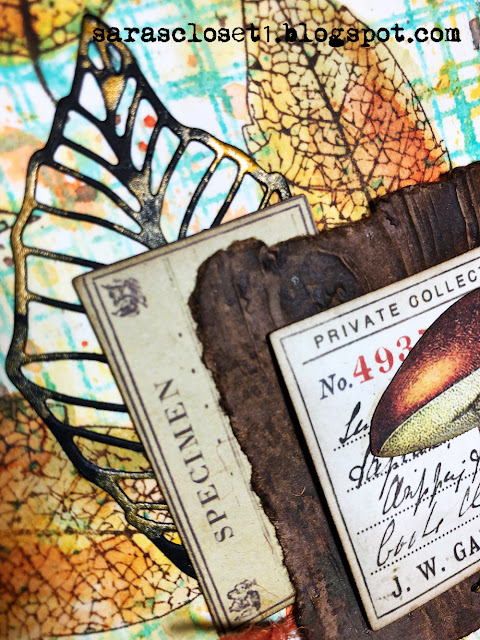
The ephemera is from the Field Notes pack, and I layered them with a scrap of Lumber 3D embossed 'bark' and a ide cut leaf from my box of bits. The Blessed sticker is from the Metallic book, and I tied on some old Ideaology jute string.


To balance the gold metallic sentiment sticker, I applied Tarnished Brass Distress paint to the black Skeleton Leaves die cut. All embellishments were edged in Ground Espresso ink. 

Well, that's it for today! I hope I can find more time to craft as the weather cools down. I haven't even made anything for Halloween yet! Gasp! The horror of it! 

I'd like to share my card with The Funkie Junkie Boutique Blog Fall Gratitude Challenge and Country View Challenges Autumnal Colors and or Halloween. I just learned of this challenge: Mixed Media Lovers Challenge #6, and will play along there, too.

Big hugs! 
Sara Emily

Wednesday, September 29, 2021

Every Walk With Nature- An Altered Trinket Tin


Hello! It sure has been a while since I've posted anything here on my blog, and truth be told, a long time since I've had the guilty pleasure of making anything. Life takes precedence sometime. But I was offered the opportunity to Guest Design at The Funkie Junkie Boutique blog, and it was just the push I needed to get in the Closet again. Thank you to Jenny and the team for inviting me to play along with them this week! I hope you'll swing over to the blog!

Laura is the host of the current challenge, Chalk It Up!, and the Design Team has made some wonderful projects to inspire you with. I chose to use a tin for my take on the chalky challenge. I love fiddling with Tim Holtz' Trinket Tins, and HERE is a rustier version I made when I was actually on The Funkie Junkie Boutique's Design Team.

Here's how Laura describes her challenge: "September is normally when kids head back to school, it is when the learning begins again....Create a project about learning, does not have to be a school themed project, learning is not just about books and school, sometimes it learning a new scrapbooking technique, or a cool fact and you must include chalk  IE - chalk paint, chalk board, actual chalk....". Additional challenge details can be found on the blog.


I find that a good part of learning comes from experimenting, so I spent the morning playing with a box of cheap chalk sticks I had in my stash. I initially played with Tim's chalkboard technique using one of my latest purchases from The Funkie Junkie Boutique, but I wanted to do something a little different with my chalk. I'll save these for another project. 

I made a few backgrounds from black card using my new Foliage 3D Embossing Folder and played with different papers/cards with the Oak Leaf 3D Impresslit. For one of the backgrounds, I simply embossed a black panel, and swiped over the raised areas with the side of my chalk stick and smoothed it with my finger. I added some color with Rustic Wilderness and Cracking Campfire Distress Crayons to a few of the leaves. Love how it changes the tone of the colors!

The panel I used as the background on the other side was made by rubbing the chalk stick over the raised areas of the back side of the embossing folder (the slightly narrower side that doesn't have the black on it) before inserting the card, spritzing it with water and embossing, using three passes through the machine. This causes the chalk to get into the cracks. After removing the card I dusted off the excess dust and lightly sprayed with water and heat dried to fix the remaining chalk. Then I sprayed with Lucky Clover (I thought I had chosen Rustic Wilderness from my rack, but turns out I don't have that color in oxide spray.) and Cracking Campfire Distress Oxide spray. I wasn't very impressed (no pun intended) with the results, but in such a small area, it makes a nice textural backdrop.


I embossed and cut the two Oak Leaves with the Impresslit  from black and kraft card.  I smeared a couple with Antiqued Bronze crayon and the others with the side of the chalk stick. Then I reversed that, and the ones I smeared first with chalk, I applied crayon to, and the ones I applied crayon to, I applied chalk. It really gives them different looks in the end, but I honestly cannot remember which got what treatment. Just play, and see what you like. I ended up using only the smaller kraft leaf, and added some leaves I had in my stash made in previous crafty sessions.

I didn't stop there with my chalk play. I experimented with a technique where I floated chalk dust on water and then floated different black substrates on it so as not to push the chalk dust into the water--plain cheap black card stock, chalkboard cardstock and a black plastic substrate. After each was dipped, carefully removed and left to dry, I sprayed with 3 coats of acrylic sealer used for pastels to prevent the chalk from smearing. I used my cheese grater to make the dust-LOL.

 I ended up using the chalkboard cardstock panel for the front of my tin after spraying with Crackling Campfire Oxide spray and later smearing on Rustic Wilderness paint thinned with water with my finger and dipping it into the remainder of paint left on my craft mat. You can see I've used a couple Field Notes ephemera pieces on the front, too.

Here's how I prepared the tin: Drawing from the subtle colors in my mainly black and white backgrounds, I prepped my tin with gesso, Opaque Crackle Paste, paints (Peeled Paint, Rustic Wilderness and Rustic Wilderness) and finally Walnut Stain crayon making sure each layer was dry before adding the next.  I cut the prepared panels to size to fit in and on my tin and adhered. Before adhering the two inner ones, I added layers of corrugated cardboard to bring them forward in the tin.


Isn't that crackle yummy? Even prepping with gesso you're probably going to get a little chipping. I just touch the crackled areas with Distress Collage Medium to keep it (mostly) in place.


Finally, I gathered and prepared my embellishments. The Ideaology Toadstools were smeared with crackle paste. When dried and crackled, I smeared the caps with Ground Espresso and Cracking Campfire crayons and the stems with just Ground Espresso.


 I learn so much from nature, and this Quote Token speaks of that. The token is smeared with Cracking Campfire paint and wiped off, then tied with some leftover dyed Mummy Cloth threads. I arranged and adhered all my pieces within the tin, including some natural things from my yard, additional foliage as noted before, scraps of die cuts and more of the dyed Mummy Cloth. 


Now I just have to clear a space on my shelf so I can put it with my other collected tins! This was so much fun. A special thank you to Laura for her creative push to get us to use chalk-who knew?! You can teach an old dog new tricks! I'm looking forward to seeing how you all use chalk on your makes! Hugs! Sara Emily
I would love to share with Simon Says Stamp Monday Touchy Feely challenge, since this is texture on top of texture! And with Country View Challenges Autumnal Colors and or Halloween, opting for the fall colors this time.

Friday, August 13, 2021

Shimmery Butterfly Garden Card


Hello friends and visitors! It's been too long since I've had time to make something, but I had a little free time recently to start a card for the last challenge at The Funkie Junkie Boutique challenge blog. Sadly, I didn't have the ability to get the card over the finish line until this week. So you'll see that shimmer, shine, and sparkle Janna was looking for in her challenge last week. In the spirit of Suzz's current challenge - 'Triple the Heat', I kept to my original layout, but I sifted through my box of butterflies to find two additional bugs to add to my vellum Specimen butterfly, played with the color a bit (to be sure there are just three colors at play), and added 3 green gemstones. Oh, and I specially chose a three word sentiment.

Here are a few closeup shots to show off that shimmery background (better late than never, Janna!).


When you're going through your craft supplies in an effort to downsize and pack them all up, you find things you forgot you had! Like this embossed black panel and an old jar of interference green pearlized powder (which if you hold to the light a certain way looks blue, so I apologize for the 4th color).

Check out the butterfly's bright green antennae! I also found a variety of Twinkling H2O's, and I chose a lime green to match the two little already colored and stamped butterflies from my stash. I also used the H2O's to splatter to my finished card, wiping any splatters from my focal butterfly.


I cut two each of the Flower Field die cuts from white and black card and cut them to stretch out the scene. I colored the white ones loosely with Distress crayons: Mustard Seed and Twisted Citron and layered them with the black ones adhering with collage medium. 

I stamped and heat embossed the Tim Holtz Specimen butterfly on vellum and colored him on the reverse side with the same crayons. You can see I glued him at his body and then each of his wing tips to create dimension. The encouraging three words come from Tim's Metallic Quotations stickers.

I'll be leaving this card with my daughter (so no need to worry about crushed wings!) when we drop her off, once again, next week in the big city of Charlotte as she starts her new life in her new apartment and finishes her final semesters in grad school in person! Thanks for dropping by! Hugs! Sara Emily

Challenge Shares:

The Funkie Junkie Boutique Blog Triple the Heat

Simon Says Stamp Monday Heat Embossing Challenge