Showing posts with label Faux Bark. Show all posts

Saturday, August 25, 2018

Go Where You Feel Most Alive -- Playing With Wendy Vecchi's Make Art Blendable Dye Inks


Hello friends and visitors! Today I'm sharing a tutorial at Frilly and Funkie for our weekly Saturday Showcase feature. I'll be shining the spotlight on Wendy Vecchi's Make Art Blendable Dye inks and sharing my techniques for making this gorgeous background and these life like leaves and bark. I hope you'll join me there!

As always, I'm thrilled you are here! Thank you for all your amazing comments! They make my day!

Hugs and Blessings!
Sara Emily

Challenge Shares
Country View Challenges August 2018 - Sun, Sea and Sand This is reminiscent of and inspired by my recent hiking 'holiday' to Capon Springs, WVa. In fact, the bracket fungus was harvested from a dead tree found on one of our hikes.
SumMore Fun Mood Board Challenge #35 I was inspired by the colors and the tiles.
Scrapy Land Challenge #96 Anything Goes  I used a Sizzix die set.


Sunday, August 12, 2018

Free to Fly With 3D Embossing


Sara Emily Barker http://sarascloset1.blogspot.com/ Free to Fly With 3D Embossing 1

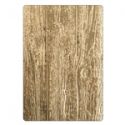
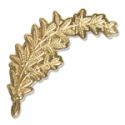
Hi! I've had a little more time to play with my Tim Holtz Lumber 3D Texture Fade yesterday. And I experimented with my Laurel 3D Impresslits embossing folder for the first time. How I love these 3 dimensional miracles, and they couldn't be more on trend! 

Sara Emily Barker http://sarascloset1.blogspot.com/ Free to Fly With 3D Embossing 2

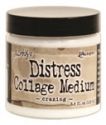
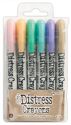
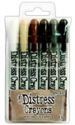
I used Distress Crazing Collage Medium, Distress paint, Oxide, and crayons along with the Lumber Folder to make my 'bark' background. If you missed my post on how to create faux barn wood using this embossing folder and similar supplies, you can check out my tutorial here.

Sara Emily Barker http://sarascloset1.blogspot.com/ Free to Fly With 3D Embossing 3

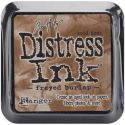
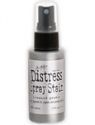
I cut and embossed black card with the Lauren Impresslit and used one embossed side up and the other de-bossed side up. I colored them with Brushed Pewter Distress Spray stain, then applied a thin layer of Crazing, followed by Picket Fence crayon. I layered them over another pair of Laurels cut/embossed from white card blended with Frayed Burlap Distress ink.

Sara Emily Barker http://sarascloset1.blogspot.com/ Free to Fly With 3D Embossing 4

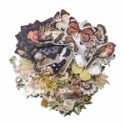
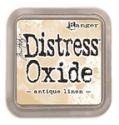
 The butterfly is from the Botanical Layers pack, and I colored it with a splatter of gesso, a spritz of Brushed Pewter stain, followed by Antique Linen Distress Oxide. I edged with Frayed Burlap crayon.

Sara Emily Barker http://sarascloset1.blogspot.com/ Free to Fly With 3D Embossing 5

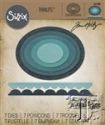
I made a frame using Stitched Ovals Thinlits dies. I smudged on Picket Fence crayon and spritzed with Brushed Pewter. Again, I applied a thin layer of Crazing, and when dry, smudged with Black Soot crayon. I did the same thing to the black backing card.

Sara Emily Barker http://sarascloset1.blogspot.com/ Free to Fly With 3D Embossing 6

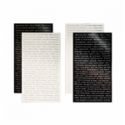
I finished off with a Quotations Metallic Sticker blended with Frayed Burlap ink. I hope you enjoyed my mix of 'metal and wood'. Thank you for stopping by!

Hugs and Blessings!
Sara Emily

The products I used can be found at The Funkie Junkie Boutique: