Thursday, May 31, 2018

Mixed Media Birthday Card Using Texture Paste Resist Technique


Welcome friends and visitors! Today marks the start of a new challenge at A Vintage Journey  The theme 'Stencil It' was chosen by my talented teammate, Astrid. 

Astrid describes her challenge: "Create a project using at least one stencil, in a style that fits our challenge focus - vintage, shabby, mixed media, art journaling; industrial, timeworn or steampunk. There are so many possibilities to be creative with stencils on your cards, journals, layouts, ATCs or 3D projects. Stencils offer endless possibilities, be creative and have fun!"


I met a lovely lady recently who asked that I make her sister a birthday card using some products from her own stash (shown above). In addition and not shown, there was a store bought card with a butterfly she wanted me to include. Her rules were to use her goodies, use blue, and include '70' so it would be quite noticeable.


I started by gluing 'birthday' die cut on a blue designer paper that just happened to be on my desk after dipping 'birthday' in a puddle of Peacock Feathers DI. I used a stencil and Transparent Gloss Texture paste over the paper and allowed to dry. I blended with Faded Jeans ink and wiped the ink from the glossy areas to reveal the stenciled flowers.

I layered the stenciled card over the pink, embossed designer paper which I colored with Distress paints in Picket Fence and Weathered Wood, dried and edged in Ground Espresso ink. This was layered over the provided vellum paper which I blended with Tumbled Glass and Peacock Feathers inks.


My frame was made using Tim's Ornate Frame #2. I'll have a full tutorial on how this frame was made in future post, so be sure to check back. I tucked in a scrap of the vellum blended with Peacock Feathers DI. I sanded the raised parts to reveal the hearts, and finished by splattering with Ground Espresso and Peacock Feathers inks and gesso and adding some Remnant Rubs.


The little blue butterfly was fussy cut from The Funkie Junkie's business card Linda attaches to her thank you goodie bags. I simply edged it in Ground Espresso ink.


A  flower made from  punches and some faux art stones from my stash, the heart die cut and the butterfly from the store bought card embellish the card. The butterfly was altered by coating it with gesso, spritzing with Mermaid Lagoon Distress Spray Stain, edging with Ground Espresso ink and splattering with gesso.

That's all for me today! If you haven't come by way of A Vintage Journey I hope you'll take a few minutes to pop over to see all the amazing inspiration by my fellow Creative Guides! And then it's over to YOU! I can't wait to see what you'll make for our 'Stencil It' challenge!

Challenges entered:

Thank you for your visit and for your lovely comments!
Hugs and Blessings,
Sara Emily

These products were used in addition to the one's provided and can be purchased at The Funkie Junkie Boutique:


What's Brewin'? With Tim Holtz and Seth Apter's Baked Texture


Hello again!  That was quick! While I had my crafty goodies out, I put them to use on a second coffee lover's card this morning, because my coffee was kickin' into high gear!

It's so fun to pair up the old stuff with my newer and most loved Tim Holtz products. As on my card here, I used my new Stacked Archway dies. These are just so versatile, and I will be getting lots of use out of them!

I don't have much in the way of coffee stash, so I used the same Stampin' Up set used on my previous card. This time I inked the steam right onto my arch panel, masked it, and stamped the dots from the Dots and Floral set by Tim Holtz. I inked the stamp with Peacock Feathers then blended the entire panel with Antique Linen Distress ink after removing the mask. I replaced the mask, gave the panel a splatter of water and blotted with a paper towel. After adhering this to a second archway cut from  breakfast bar waste packaging, I edged in Frayed Burlap.


I heat embossed the outer Archway in clear after inking the steam image in Black Soot ink.  I added more Antique Linen and Frayed Burlap ink. The blue floral stamped background layer is a second generation stamping from the Dots and Floral set.


The coffee cup was stamped in Black Soot and edged in Ground Espresso (of course!). My Paper Doll gent gets a hot seat, but not before giving him some texture with Ranger Vintage Collage Medium and Vintage Beeswax Baked Texture. I borrowed this idea off  a favorite designer here in blogland--I just can't remember who it was as the moment, so please accept my apologies and gratitude for the inspiration.


My sentiment is inside for a change, using another of the Archway die cuts and another little guy from my Paper Doll pack.


That's all for me today! Wow! Several posts in one day after my blog sits quiet for so long except for my rusty Trinket Tin, which coincidentally also uses the Stacked Archway die cuts. I'll be back again later this evening with my scheduled post for A Vintage Journey and then next Wednesday for my Design Team project for Frilly and Funkie.  I should be back to a regular schedule of crafting within a couple of weeks.  I appreciate your coming back today and leaving your inspiring comments!

Hugs and Blessings!
Sara Emily


My First Coffee Lovers Card With Tim Holtz


 Welcome friends and visitors! I stayed up late last night, all pumped up from seeing my friend's Autumn and Marty's  FABULOUS coffee themed inspiration, vowing I would at least get one project made for 2018 Spring | Summer Coffee Lovers Blog Hop  .This girl needs her sleep, and nothing was coming to me, so I got up early, made some strong coffee, and got to work.


I made this easy design focusing on an old Stampin' Up coffee set I've never laid ink to. For the blue background, I used a stamp I JUST had to have after playing with Autumn's on our crafty visit earlier this year--Tim Holtz' 'Dots and Floral'. Here, it's inked with Broken China DOX on watercolor paper I spritzed with water.


The steam is stamped on a scrap of white card in Black Soot Distress ink. I took my waterbrush and colored in some of the swirls. I blended with Tumbled Glass ink and fussy cut. The coffee cup was stamped in Black Soot ink on a watercolor paper scrap which I had applied various blue DOX colors to. I spritzed the stamp with water and wiped a bit of the ink from the stamp before inking the image to get the shadow effect. I fussy cut and smooshed the cup face down onto my embossing ink pad, embossing in clear several times.


I used my new Tim Holtz Stacked Archway die set for the frame and altered a Christmas Quote Chip with a coffee quote from my Stampin' Up stash. (Who uses 'Hello December" anyway? My Christmas cards are usually so late, I'm saying 'Goodbye December'!)


This card is going to my Mom to thank her for some lovely gifts she just sent me--some beautiful Limoges thingies. If anyone knows anything about them, I'd love if you could leave me a comment below.   All my mom knows is that they were my grandmother's, so they are very old.

I'm so excited to finally participate this year, although it's at the end of the hop. I'll have another coffee lovers card in just a few hours here. I'm just waiting for the glue to dry.

Challenges entered:

As always your visits and comments mean the world to me!  Thank you for stopping by!
Hugs and Blessings!
Sara Emily

Wednesday, May 30, 2018

Funkie Lace Altered Trinket Box With Tim Holtz Idealogy and Sizzix Alterations, Baked Textures and Prima Art Supplies


Welcome friends and visitors! It's time for the Funkie girls at Frilly and Funkie to reveal their inspiration for the current challenge, Layers of Lace, chosen by Autumn.

Autumn describes her challenge: "Lace, oh so lovely lace! Whether you add delicate layers of fine lace, or tattered and torn crocheted lace, we'd love to see you add dimension and depth to your vintage or shabby chic project with lace. Perhaps you have a favorite lace stamp or will choose to lace something up, we'd love to see your creations inspired by this topic."

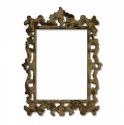
I had been itching to make something grungy, and at first I planned to use Stamperia's Old Lace paper collection, but I saw that teammate Kathy already did a fine job with it, and nothing I could make could show off these beautiful papers any better. I did manage to use one of the papers for my photo shoot background. The delicate design looks so realistic and pops off the neutral background. I opted to alter one of Tim Holtz' Idea-ology Trinket Tins. Sadly, I have no process photos, as this was done in short 5 minute spurts between other family/work obligations. I'll be lucky if I can even recall what I did!


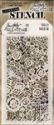
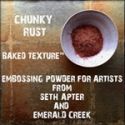
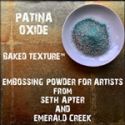
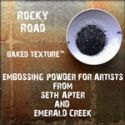
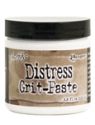
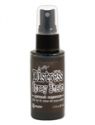
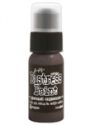
I started by applying a coat of gesso to the lid  and then applied crackle paste through Tim's Doily stencil. I also applied a little crackle paste to the inside bottom right around the rim. After that dried overnight, I added some Grit paste where you might expect to see some rust form. I sprayed with Distress spray stains in Rusty Hinge and Ground Espresso. I noticed some of the crackle was falling off, so I sealed the lid with Collage medium in matte. I used the Emboss It dabber and Rocky Road Patina Oxide Chunky Rust Baked Texture to make the rust and patina. Because I am not fond of shiny rust, I gave it another coat of collage medium.

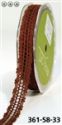
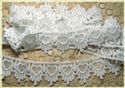
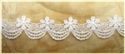
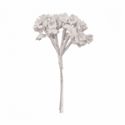
 For my embellishments, I sprayed three different laces from Linda's shop with Rusty Hinge spray and dried with my heat tool. I painted on Prima Sculpture Medium in clear and shaped the lace to fit my lid and allowed that to dry overnight.

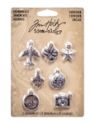
I colored the silver filigree medallion and globe Adornment (I cut off the bail) with Picket Fence Distress paint and Caramel alcohol ink. I patted the continents with a little more Picket Fence, sprinkled with Patina Oxide  and heated just until it started to melt.

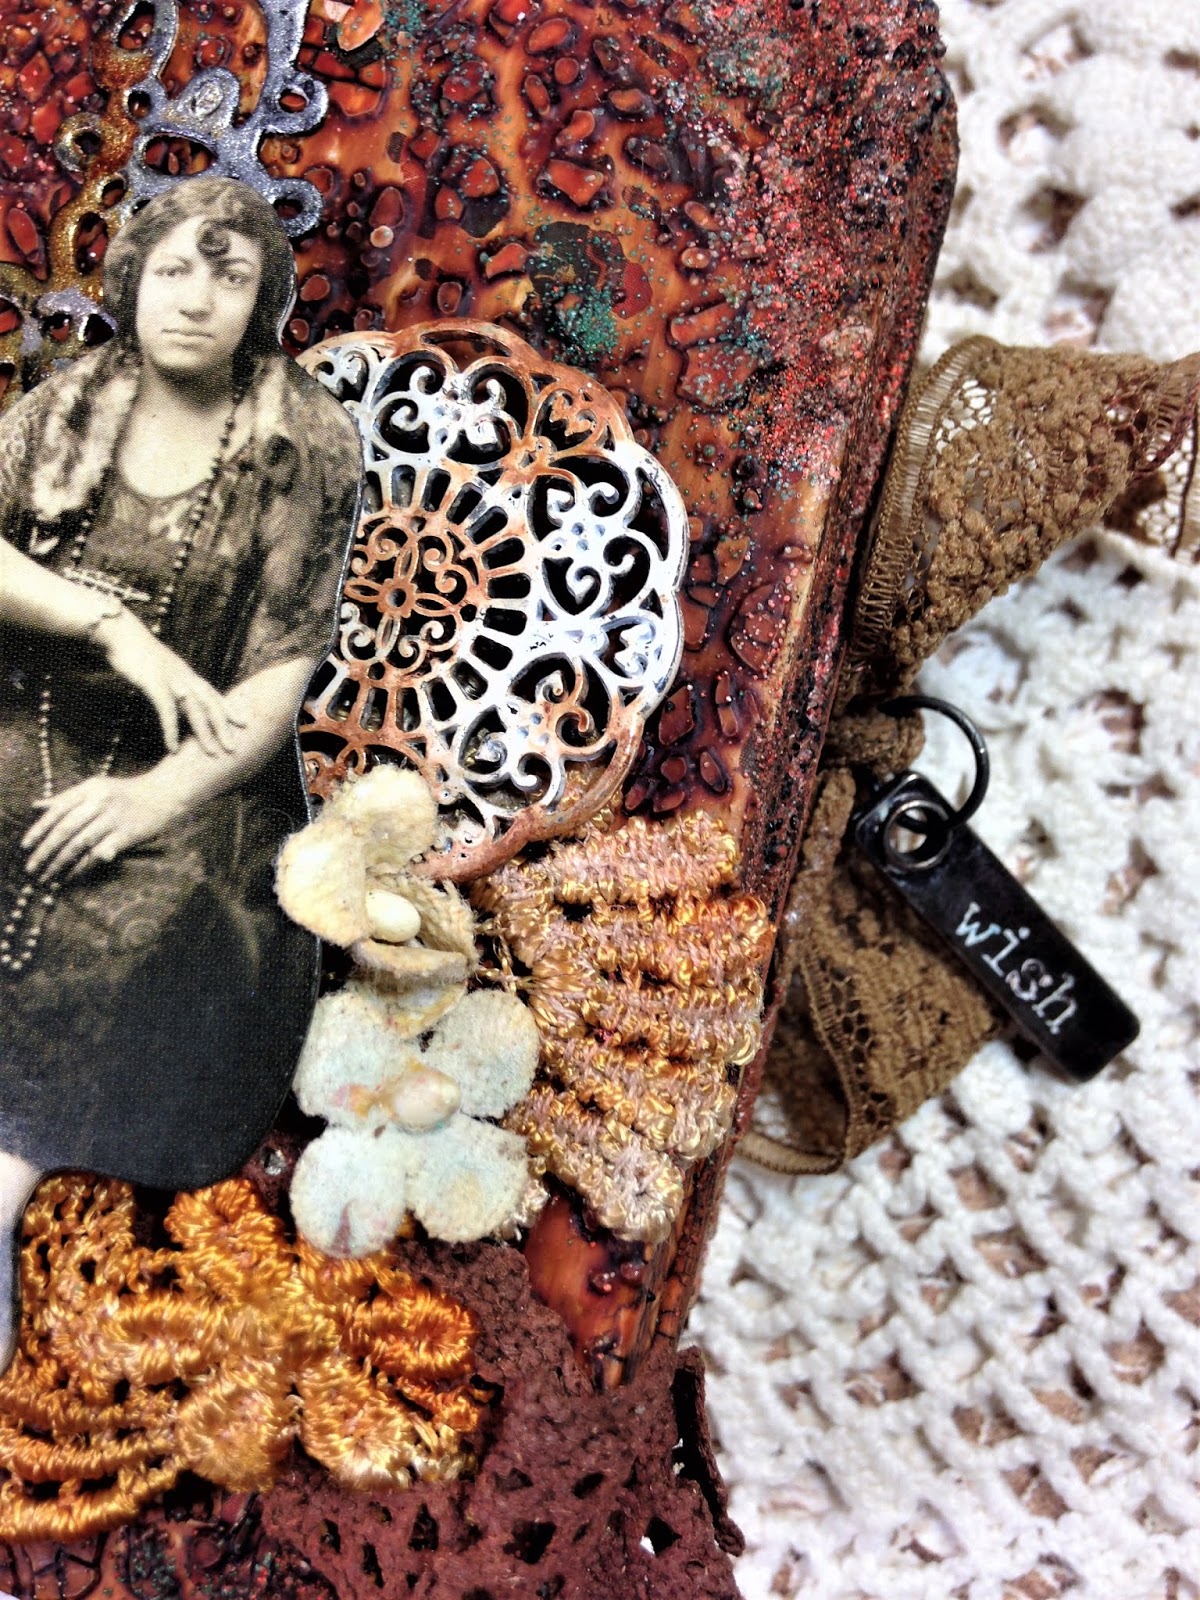
The silver lace die cut is left over from another project. I layered everything up, topped with a rather forlorn looking Paper Doll  adhering everything with  Multi medium matte. I wish I had seen Ann Barnes'  Paper Doll before I made this, because it certainly would have looked better to add the Vintage Beeswax powder as she did. While you're there, check out her amazing globe! 


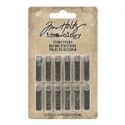
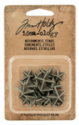
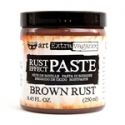
I ended up sanding the bottom half of the outside and the inside of the tin having learned my lesson with the cracking crackle.  I dribbled on Terra Cotta,  Mushroom  and Gunmetal Mixative alcohol inks. On the outside, I  also painted with  Prima Rust Paste in Red and Brown, taking care to leave the top part free of the texture, so the lid would close properly. I wrapped this with a piece of lacy seam binding from my stash, embedding it into the wet rust paste.  I sealed it all with collage medium. On the backside, while the collage medium was still wet,  I sprinkled with Patina Oxide and Chunky Rust Baked Texture just until it started to melt. Lastly, I added a jump ring to the Ideaology Story Stick to attach to the lace. The word was highlighted with Distress crayon. I tucked in a couple of altered Ideaology Bouquet Findings to cover the gap left by the layering on the front.


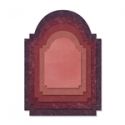
Moving along to the inside , I layered up Tim's Stacked Archway die cuts, coloring them with Distress spray stains in Ground Espresso and Rusty Hinge.


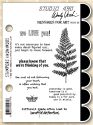
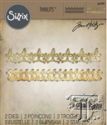
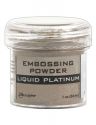
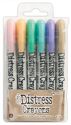
I heat embossed the Ground Espresso layer with a lace stamp from my stash and one of Tim's new Ornate Trims stamps. I used Liquid Platinum embossing powder--love this stuff! I cut up a very powerful Wendy Vecchi Messages for Art quote to make it fit my aperture. It was stamped with Potting Soil Archival ink and edged with Distress marker.


The background was made by making a monoprint of the doily stencil in Antique Linen Distress Oxide. The second generation stamped butterfly/moth is from that same Wendy Vecchi set. Isn't it sweet?! I

I stapled on some bits of vintage lace from my stash using Tim's Tiny Attacher and smudged on a little rust paint.


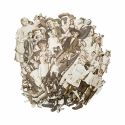
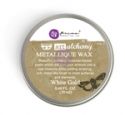
I also used the Stacked Archway on the opposite side to make a little stage for my Tiny Dancer to perform on.This little girl is my favorite from the pack, and this time I colored her lace (?) layered tutu and hat with Tumbled Glass Distress crayon. She is finishing her act in front of a backdrop of more Doily stenciling using crackle paste and highlighted with Prima's White Gold Metallique Wax.


I love how the Liquid Platinum embossing plays off the shimmer of the background. The lacy  embossed image on the bottom and top of the 'stage' is another of the Ornate Trims.


I tucked in some flowery bits of lace and another bouquet finding at the foot of the stage.


And a bit of lace shaped with Sculpture medium makes for a great top border curtain tucked in between the layers.


A star Adornment altered with Liquid Platinum, Picket Fence paint, and alcohol ink finishes off my altered tin.


I hope you found some lacy inspiration here, but there's always more! Why not hop over to Frilly and Funkie to see the amazing lacy layers created by my talented teammates? And when you're done, be sure to play along with our 'Layers of Lace' challenge for a chance to win a generous gift certificate to The Funkie Junkie Boutique or to be chosen as one of four Designer favorite and a chance to be Guest Designer on Frilly and Funkie. I can't wait to see what YOU will make!

I'm sharing with these challenges:
Image may contain: text

Hugs and Blessings!
Sara Emily

These products were used on my project and can be purchased at The Funkie Junkie Boutique: