Hello and welcome! Today I am given the honor of being Guest Designer at The Funkie Junkie Boutique blog. If you are a regular follower of the challenge blog you know the current challenge is Tag It. Lucky me; an easy challenge and so timely to help me get a jump start on my Christmas crafting!
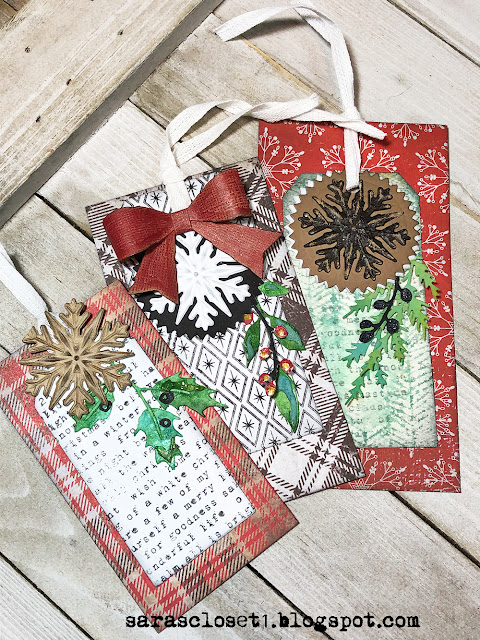
First, here are some close ups each of my swing tags. I will share some easy tips for quick holiday tags near the bottom of this post.
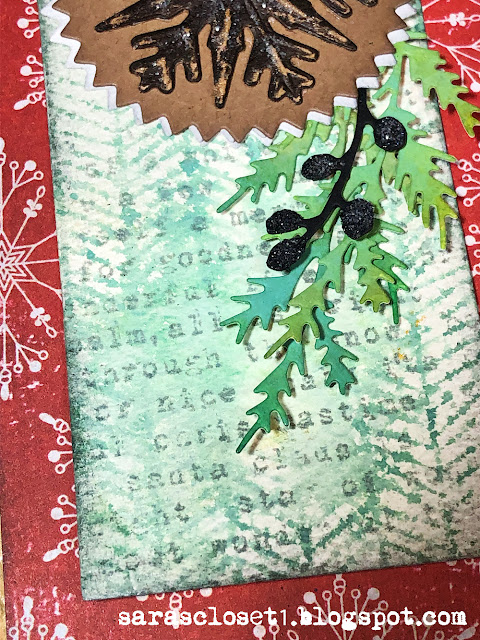
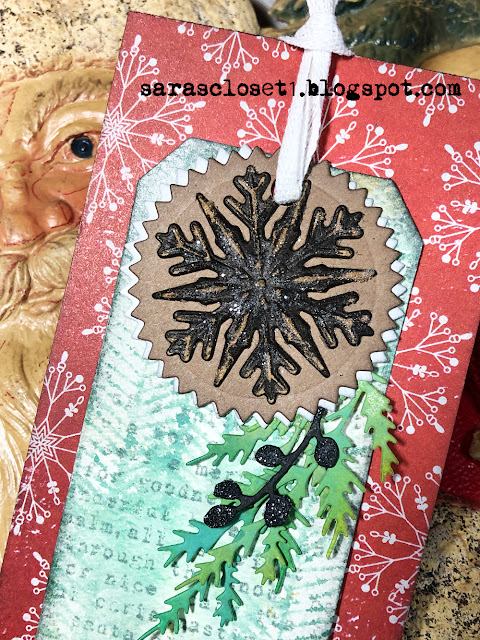


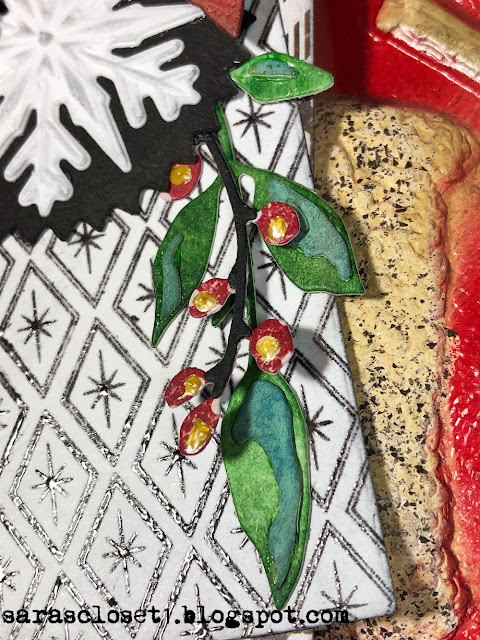
The Sparkles background stamps is one of my favorites, and this time I've stamped in Black Soot ink and heat embossed in clear. A dot of Liquid Pearls adds more shine on the berries.
* * *
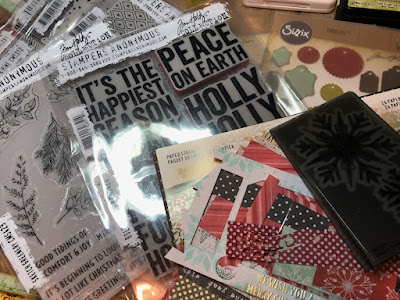
And now for a few quick tips to make your holiday crafting fun and time-saving. After all, don't we have plenty to do this time of year? Start by rounding up your favorite Christmas papers, stamps and dies.
1. Set your things up to work in an assembly line fashion. I approached my tags from die cutting/embossing my snowflakes first and worked back from there, choosing scraps that complimented each snowflake, then stamping and die cutting all my 'main' tags. Then I die cut my foliage and Gift Tags. Then blended all my pieces with ink, then glued and assembled.
2. Use designer paper scraps for background panels. Not only does it save time, it adds color and prevents waste. Most of my saved off cuts were just the right size! All you have to do is punch a hole and blend the edges with a dark ink.
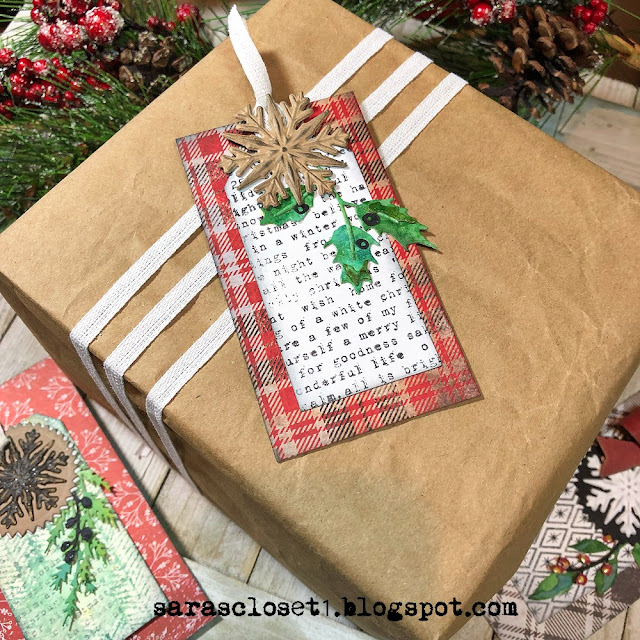
3. Choose a central theme and or color scheme; I decided to use my new to me, but already discontinued Snowflake Impresslit as my common denominator and chose a traditional color palette.
3. Personalize your tag with additional tags using lighter colored premade backgrounds--you know those ones you saved when you were trying out your new sprays and inks. Or you can make some quick tags by stamping white or cream card with a favorite background stamp like I did. I just stamped one large sheet and then die cut areas of the card with Stacked Tags dies.
4. Make your tag extra special by using up those little die cuts you have from previous projects and adhering them to a shaped tag. Or even simpler, stamp your smaller shaped tag with a festive image--there are some great ones in Tim's Holiday Things.
Thanks for stopping by! Wishing all of you who celebrate Thanksgiving a blessed day with family and/or friends! Sara Emily
Simon Says Stamp Wednesday: Anything Goes
Country View Challenge Christmas Gifting November
Sorry it has been an age since I visited your blog. I love all the touches of craft in your tags and wraps looks wonderful. x
ReplyDeleteYour tags are fabulous Sara and such a great way to use up those designer scraps! xxx
ReplyDeleteBeautiful tags Sara! I love the addition of embellishments for more 3D textures.
ReplyDeleteThanks for playing with us at Country View Challenges this month!
Loving these tags so much Sara Emily - getting to see the details up close you get to appreciate the level of detail you go to with things like the baked glitter and sparkle dots on the glossy berries. Thank you so much for being our special guest designer for this challenge xx
ReplyDeleteYour tags are so pretty and festive. Thanks for visiting my blog today, is Biskit a cat as I have the same problems with mine and plants!
ReplyDeleteEach tag is beautiful, Sara!!! Good idea to use the leftover papers in this way. I have a lot too :-D Thank you for joining the November challenge of the Country View Challenges!
ReplyDelete