Friday, November 25, 2016

Peace and Joy-12 Tags of Christmas-Funkie Junkie Style- Week 7

Welcome! I've finished my card for Linda Coughlin's 12 Tags of Christmas-Funkie Junkie Style Week 7. I actually started this weeks ago--it was to be my first entry into her inspiring 12 week challenge, but I got sidetracked. I promise you, this IS my favorite so far, but it's hard to choose, isn't it?


I adore Linda's blue and silver color palette, and her overall design. Please visit The Funkie Junkie blog to see each of her beautiful, festive tags, and while you're there look at all the entries so far. Yours should be there, too, because this is an easy way to win one of several very generous gift certificates to The Funkie Junkie Boutique who is sponsoring this challenge. Be sure to read all the rules and note that if you follow them you will also get a discount for your entire purchase in January. AND you'll get some of your Christmas cards done, too! Also good to note, The Funkie Junkie Boutique is currently having their Black Friday sale which goes through to Cyber Monday.


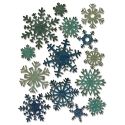
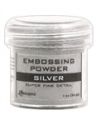
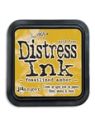
I made my background with the Chipped Sapphire Distress paint following Linda's lead. I did the silver foiling around the edges, but chose to heat emboss my larger silver snowflakes in the background. The tiny snowflakes are the waste from the center of one of  the Thinlit Paper Snowflake Minis, and I embossed them with Ranger Holographic embossing powder. The sentiment is from Tim Holtz Scribble Woodland set which I also embossed in silver. The snowflakes are also from that stamp set.


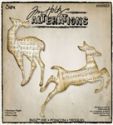
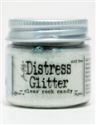
I  used the Reindeer Flight die like Linda, and added a layer of Ranger Grit paste and sprinkled with Distress Clear Rock Candy glitter and just a pinch of Prima Art Sugar for extra sparkle.


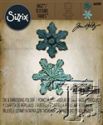
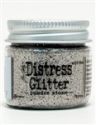
I don't have the Stacked Snowflake die, so I used Tim's Snowflake Duo die and embossing folder for two of my layered snowflakes and his Mini Snowflake Movers and Shapers die. Like Linda I laid down my Distress paint, then Glossy Accents. I added Clear Rock Candy glitter to the top flake, Pumice Stone Distress glitter to the middle one, but oops! I picked up the Holographic embossing powder instead of the CRC for the bottom flake! The jars are almost identical. Unfortunately, the holographic EP looks better in person than on camera!


I had some glittery garland lying around, so I cut off a piece to back my snowflakes and used some Recollections half pearls in place of the baubles. I want this card to be flat enough to send easily in the mail, so I left the dimensional elements off. If you have a Fiskars trimmer, you can see if your envelope will post with minimum postage (USA) by slipping it through the cutting opening. If it fits, it ships!


Blurry, but perhaps you can see some of the shimmer!


Oh, what fun I had making this card, and I have to say there's plenty of bang for the buck on this (no pun intended); it was so easy to make, unlike my last card, which I thought I'd never finish!


Most of the products I used can be found at The Funkie Junkie Boutique. I see the Mini Snowflake is already sold out!


I'm sharing this card with:
Time Out Challenge #71- Christmas with an Optional Twist of Glitter/Shimmer I hope you can see my glitter and shimmer--it's very hard to photograph! (12/7)

I'm so please you stopped by and left your lovely comment! I read and appreciate them all!
Hugs and Blessings!
Sara Emily

Wednesday, November 23, 2016

A (Not So) Quick Christmas Greeting-12 Tags of Christmas-Funkie Junkie Style-Week 8

Hello crafty friends and visitors, and Happy Thanksgiving to all my American friends! I hope you are enjoying a lovely holiday spent with loved ones. I've got a (not so) quick card to share with you, as I participate in Week 8 of 12 Tags of Christmas-Funkie Junkie Style. As you probably are already aware, this is a 12 week challenge hosted by Linda Coughlin at her blog The Funkie Junkie and sponsored by her well appointed shop The Funkie Junkie Boutique. It's a fun and easy challenge with a fantastic outcome whether you win one of her gift certificates to her shop or just play along and get your Christmas card stash built up. The bonus is, EVERYONE who completes her challenge following the rules gets a generous discount at her shop in January! Woo Hoo!


I was inspired by Linda's festive tag, but probably more so by the words in her post and how her tag came to be. She was short on time, so used a "waste" paper that was too pretty to toss. So I decided this was how I was going to make my card for the 8th entry. While I was at it, I wanted to be sure to really stress myself out and see if I could toss this together in less than 15 minutes and while using some of the elements from her fun tag.

I started with a piece that was a flop from a previous project, but like Linda's was too pretty to throw away. I have an avalanche of these pieces on my desk right now. Long story short...this didn't work with the colors of my holly in the end, so I ditched that idea, and also the idea that I would be able to finish this in the allotted 15 minutes.

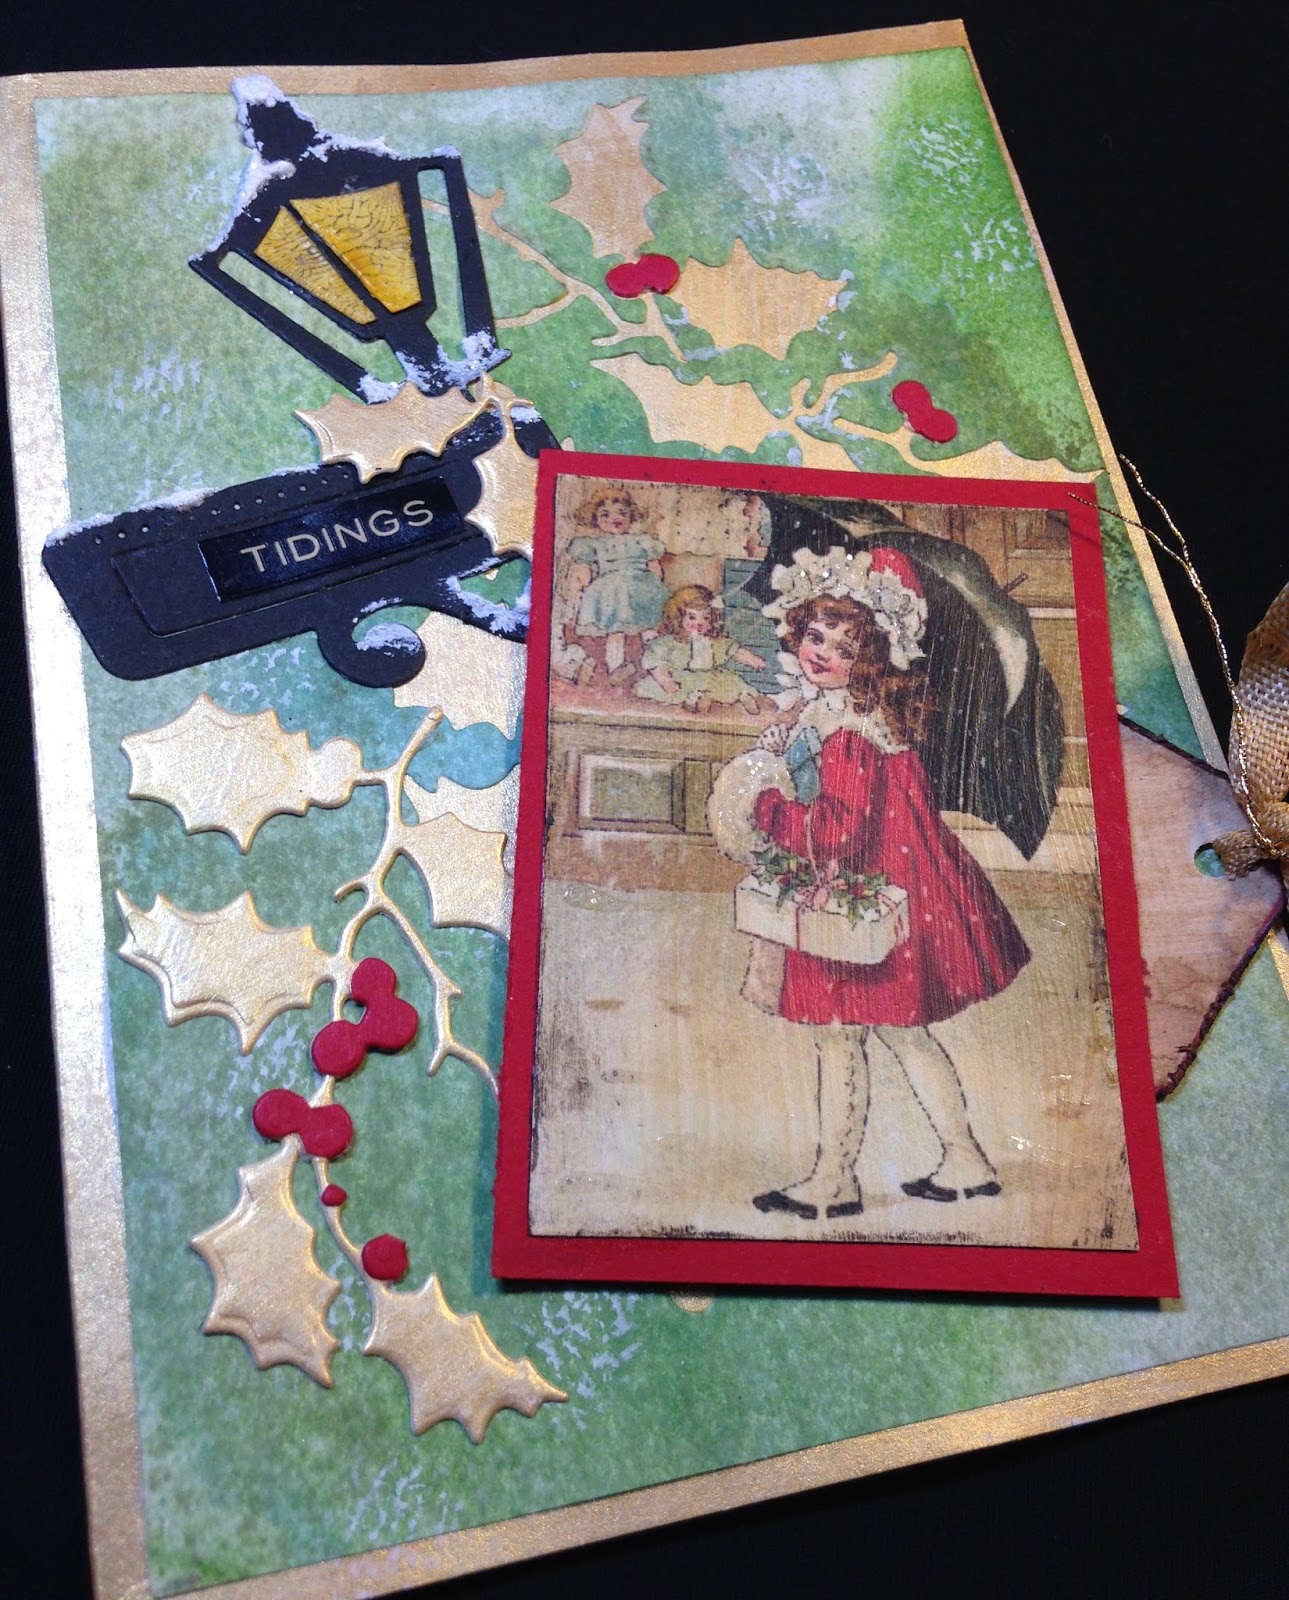
What I ended up using was the "waste" from the Christmas Mixed Media Thinlit I used to cut my original holly leaves from. I colored white paper with various Distress inks in greens to make my cut from and layered this over card I painted with Golden gold acrylic paint. I used a sea sponge to dab on some white acrylic paint for a snowy background. I ended up cutting more holly from white card painted with the same shimmery gold paint and made the berries from red card.


I think it works fairly well with this little image I've been hoarding from last Christmas. It was in one of the little glassine bags that Linda includes as a gift when you order from The Funkie Junkie Boutique. I think that is one of my favorite things about shopping in Linda's shop. It's those little personal touches that bring me back over and over again! The pull out tag is also from one of the gift bags, and I altered it with Walnut Stain ink, Vintage Collage medium and Rock Candy Distress glitter. I did the same with the sweet girl image, and matted it on red card. The ribbon is colored with Tarnished Brass Distress stain. Unfortunately, you will have to see this card in person to appreciate the glitter.


I've had the Destination (lantern) die from Spellbinders for ages, but have never used it. Perfect for this project! I cut two--one from black and one from white. I cut the little windows out of the white lamp and colored with Distress Fossilized Amber ink, then added Ranger's Crazing Medium. (Again, inspired by Linda's words in her post; she used Crackle Accents "to get that crazed effect".) I highlighted the cracks with Distress crayon in Walnut Stain.  The Tidings sentiment is a Holiday Talk Metallic sticker. To finish it off, I added some Ranger Grit Paste and sprinkled with Rock Candy glitter for snow.

Here's another look at my not so quick card! I hope you will pop over to The Funkie Junkie blog to see Linda's beautiful tag for Week 8 and all the entries! If you're not in the Christmas spirit then, you might never be!


Most of the products I used can be purchased at The Funkie Junkie Boutique.


I'm sharing with the following challenges:
-Morgan's Art World-Challenge #23-Use an Item From Your Stash I used a few collage images, vintage seam binding and some gold cord from my stash.
-Simon Says Stamp Wednesday Challenge-Christmas to Die For I used a Sizzix die and a Spellbinders die.
Thank you for stopping by and for all your wonderful comments! I read and appreciate each one!
Hugs and Blessings!
Sara Emily


Monday, November 21, 2016

Joy to the World!-12 Tags of Christmas-Week 3

Welcome! I've completed Week 3 of 12 Tags of Christmas-Funkie Junkie Style and this time I really had to put on my creative thinking cap, because I had almost none of the wonderful products Linda used for her elegant tag.


The 12 Tags of Christmas is a weekly challenge hosted by Linda Coughlin of the Funkie Junkie blog, and generously sponsored by The Funkie Junkie Boutique. Currently she is on Week 9 of her inspiring challenge, so I've got a lot of catching up to do! If you participate in all 12 weeks of the challenge, you may be chosen as a lucky winner of some very generous gift certificates to Linda's well stocked shop The Funkie Junkie Boutique. But EVERYONE  who follows the rules gets a generous 15% off coupon to use in January! It's a win, win, win Christmas scenario!

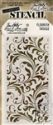
My background stenciling was done on black cardstock. I used Tim Holtz Flourish stencil and texture paste mixed with gold acrylic paint. I was able to get a reflected pattern simply by using one side of the stencil, letting that side dry, then flipping the stencil over and doing the other side of the card. Once it was all dry, I replaced the stencil and went over the flourishes with my metallic wax rub on my finger.


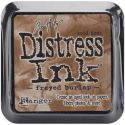
I was inspired not only by Linda's elegant color scheme, but by the musical notes. I chose a printed paper from my stash and cut a panel using an old Spellbinders die I received as a gift from my lovely and talented blog friend Kathy Clement of Kathy By Design. If you haven't seen all the amazing projects Kathy whips out at amazing speed, you must drop by and see her inspiring work! I inked the panel with Frayed Burlap and Walnut Stain to age it a little and layered it on some heavy card stock to give it some stability.

I didn't have Linda's doves, but I liked the idea of the die cuts, so I chose Tim's Victorian Carolers and cut them twice--once from black card and once from manila file folders. I edged both the black and the manila cuts with my metallic wax rub and layered them up, offsetting for a glow-y halo. The carolers were popped up with Ranger black adhesive foam tape.


I liked Linda's snowflakes, and I haven't had a chance to use my not so new Mini Paper Snowflakes Thinlits die yet. I cut 6 of the smaller ones out of file folder, inked with Frayed Burlap and spritzed on Perfect Pearls Heirloom Gold mist. I layered these with foam dots.


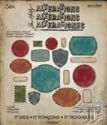
Once again, inspired by Linda's tag, for my sentiment I used a Tim Holtz Labels Thinlits die and added a Holiday Talk Metallic Sticker. I inked in Frayed Burlap and edged with the metallic wax rub. I layered this up on some ribbon I colored with Tarnished Brass Spray stain and pleated using my hot glue gun.


I wanted to lighten up the background just a little more, so I cut a little off my black stenciled panel and layered it up on a card blank I stamped with a Heidi Swapp image in Potting Soil Archival ink. I blended on some Frayed Burlap ink.


That's it for me! Please head over to The Funkie Junkie to see Lind'a inspiring tag and all the other entries into this challenge. There's still time to get your's into the mix! What are you waiting for?

Products used that can be purchased at The Funkie Junkie Boutique:


I am sharing this card with these inspiring challenges:
-Morgan's Art World-Challenge #23- Use An Item From Your Stash I used my old ribbon seambinding and gave it a facelift with Tarnished Brass spray. The Spellbinders die is also an old item from my stash.
Addicted to Stamps-Challenge #136-Die Cutsand/or Punches (with a stamp) I used a Heidi Swapp stamp top and bottom. 12/11
-Deep Ocean Challenge#142-"Inspired By a Song or a Movie" I was inspired by the carol "Joy to the World".

Thank you for stopping by today and for all your encouraging comments! I read and appreciate each and every one of them!
Hugs and Blessings!
Sara Emily 
UPDATE: Yippee!