Linda Ledbetter's Studio L3 is up to their 29th Compendium of Curiosities 3 Challenge, and she is challenging us to make an original project using this technique. You can find full instructions on how to do this on page 44 of Tim's book. You can order your own copy here, if for some unfortunate reason you do not yet have this valuable resource. Linda and the Crew have a few prizes: Tim has generously donated a massive pile of goodies for the Crew's choice, and Joy and her family at Inspiration Emporium are offering a generous $50 gift certificate to the lucky winner. And if that's not enough, you also get to learn and practice a new Tim technique!
This technique lends itself to just about any crafting style, but I wanted to go with a vintage look so I could join in the fun at Mixed Media World for their third challenge, "Vintage". If you have not yet had a look at what this talented Design Team is up to, hurry over as fast as you can! You will enjoy the view!
I wanted to use some of my new to me goodies, so I could join in with one of my favorite Mixed Media challenge blogs, Mixed Media Monthly whose challenge this month is "Year of Choices". They are celebrating their one year anniversary, and to mark the occasion, Donna is allowing us to choose one of this past 12 month's challenge themes. I am choosing "New to You", since I've recently picked up a few items I haven't used yet. I've also used my stain glass foil tape in a new way! And of course, this technique is new to me, too!
Another reason I love this technique is that it allows me to play with my Distress paints. A Sprinkle of Imagination is in the middle of an "Anything Goes" challenge, as long as you use at least one product available from their store. I think I have it covered! Be sure to check out this challenge blog--you will get plenty of inspiration from the talented Design Team there!
What makes me smile? Jan over at Our Creative Corner wants us to answer this question in our artwork with her challenge "What Makes You Smile?". For me, blue skies with white puffy clouds make me smile. They remind me of simpler times when my kids were babes, and we would lay on a quilt in the backyard and while away the afternoon looking for dinosaurs, dogs, and any other animal in them. Of course, any one who knows me knows I love RUSTY things! I also smile when I've learned something new. So I've focused my wall hanging on these things.
I used the Eroded Metallic on each of my elements which are all mounted to a plain black metallic card adhered to cardboard. I went with a simple background, because I really wanted to showcase the technique.

Inspired by Hels Sheridan's gorgeous tag, I chose similar colors for my cloud filled sky. I was also inspired by Candy Colwell and her lovely vintage clipboard in making my frame. She used embossed images coated with gesso prior to laying down her colors, and I followed suit. I used Tim's Distressed Frame Texture Fade to emboss my plain white card stock . As Candy did, I gave it a coat of gesso, dried it, and applied my color. When dry I stamped my cloud image (CI Stamping) in Jet Black Archival. I wanted to give my clouds a silver lining, so I used Brushed Pewter for the Eroded Metallic technique on this section. It's very difficult to photograph, but the Eroded Metallic is there.


For the "frame" portion, I laid down color, then stamped a wood grain image (Heidi Swapp) in Coffee Archival ink. This was kind of a wasted step, since it barely shows after doing the Eroded Metallic. For the technique I used Antiqued Bronze and Tarnished Brass.


My sentiment comes from my new (to me) Tim Holtz Phrases 2 set, stamped in Jet Black Archival ink. I love this quote. Next, I embossed the complete card a second time to get nice raised texture. I applied Ranger Embossing Dabber to the raised areas randomly and sprinkled with Ranger copper embossing powder.
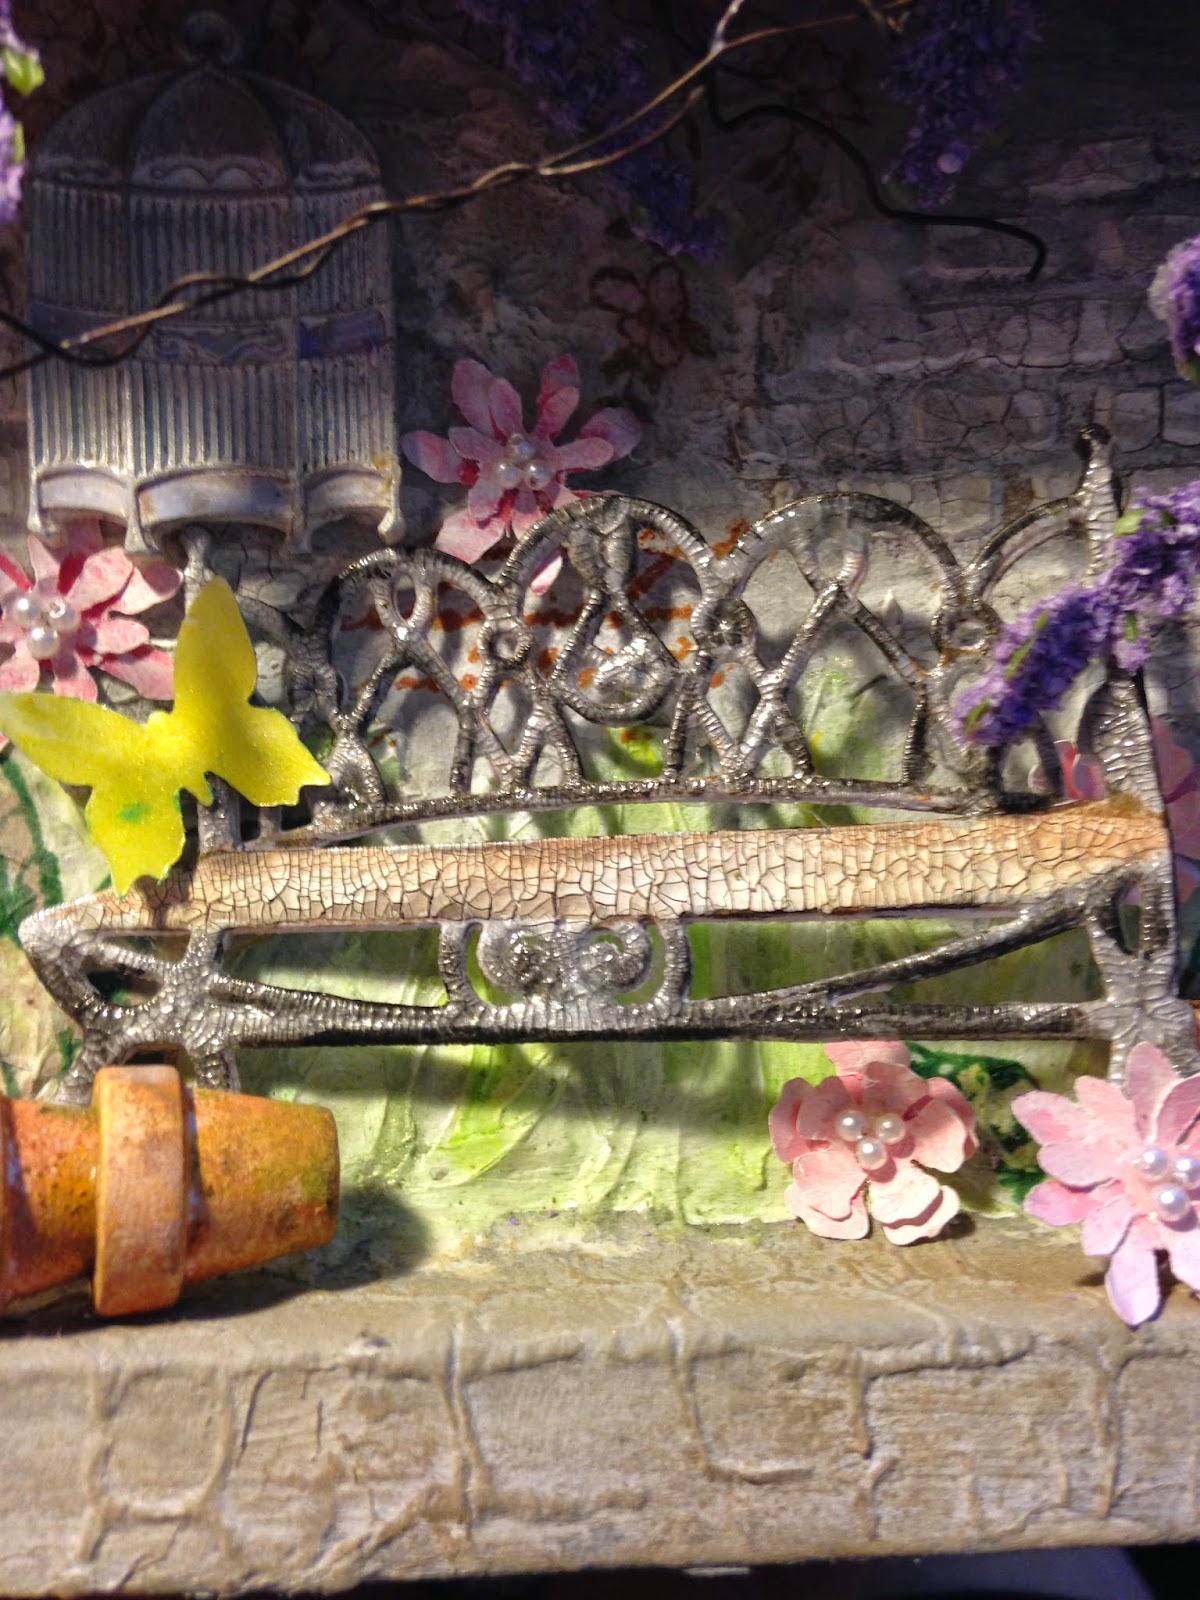
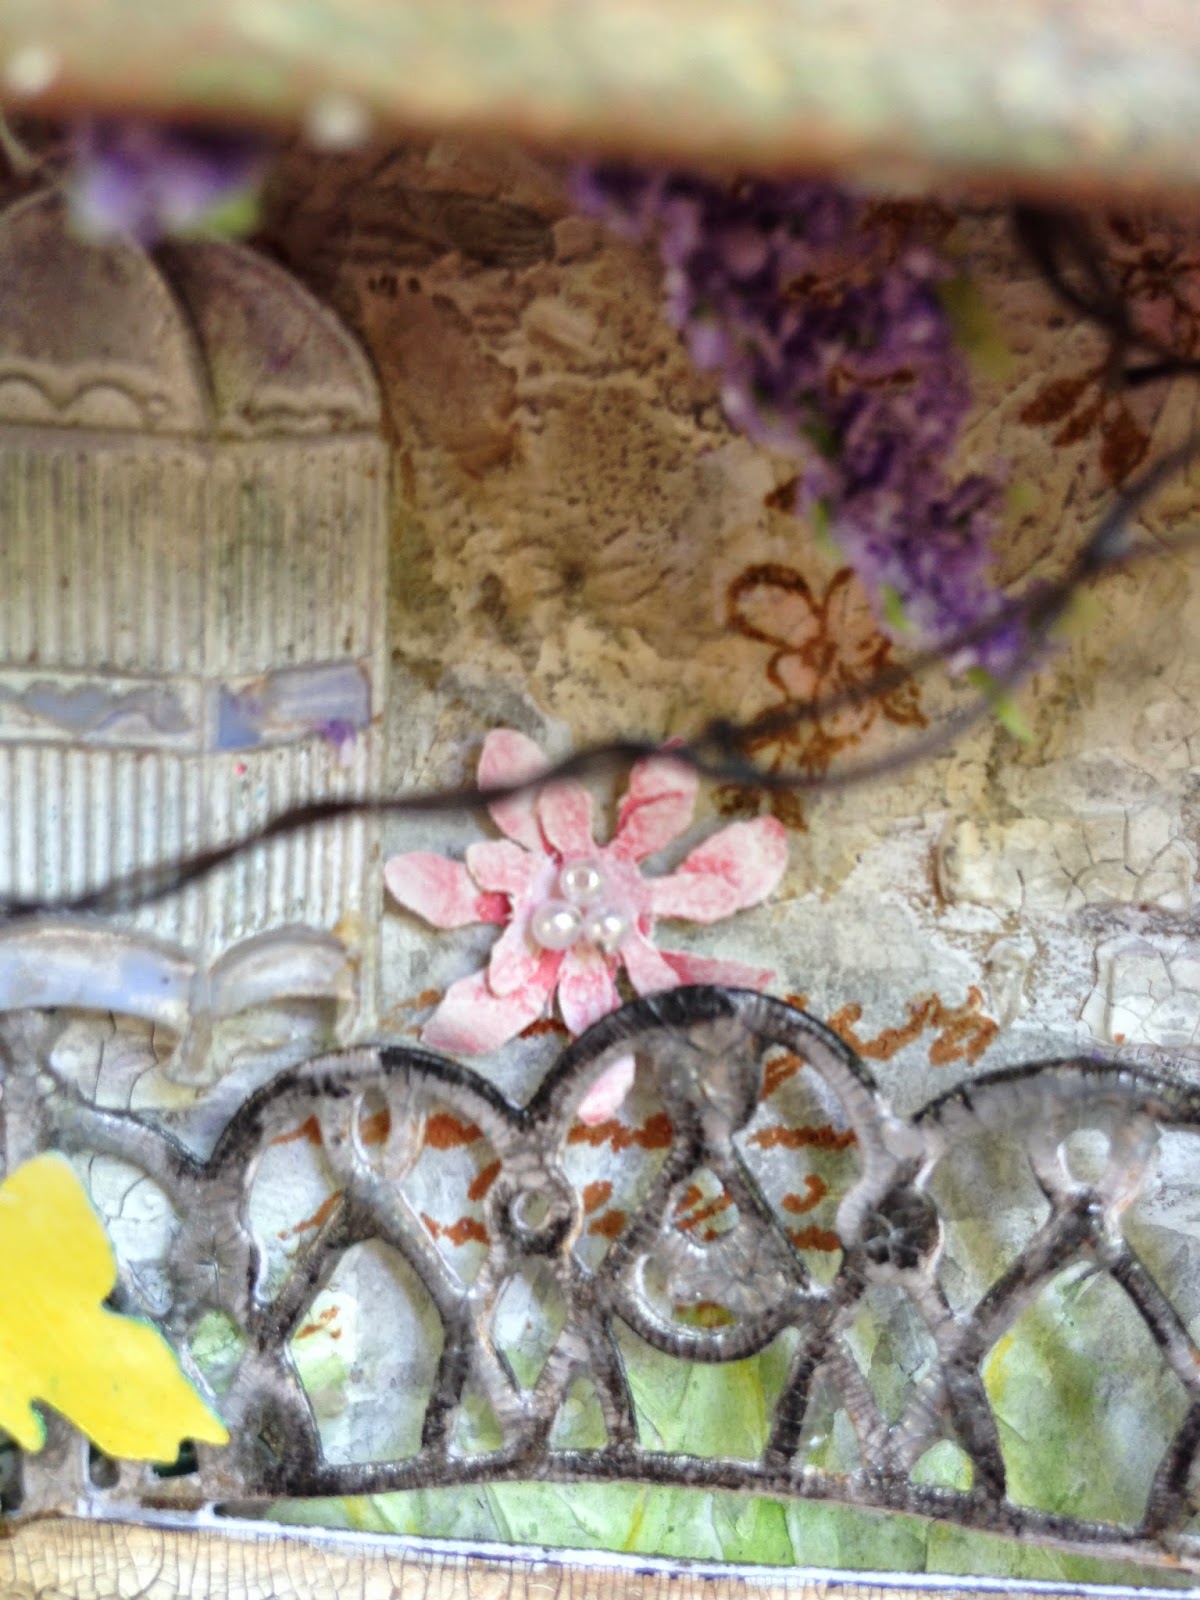
I did the Eroded Metallic technique on some black card scraps, this time using only Antiqued Bronze for the technique, and made two die cuts using Sizzix Curly Gate. I also used a sponge to dab on a tiny bit of Chipped Sapphire Distress paint. I'm showing this shot of my work while I'm figuring out how I wanted to arrange my elements, because I think the true colors on the butterfly really show up quite nicely.

On a piece of thick glossy waste packaging, I used the Eroded Metallic technique using Tarnished Brass, Antiqued Bronze and Brushed Pewter. I felt like I had the best results using this type of card. I cut a butterfly and embossed it using my new Butterfly Duo set. I adore butterflies, and I've been saving my pennies to get this die! I'm sure I will get a lot of use out of it! Here are 3 more butterflies I used the technique on using various colors and card types. I decided to make little brooches out of them. I added some Chipped Sapphire Distress paint on the silver one after doing the technique, because it looked a little ho-hum.


Each butterfly got some body work. The one on my wall hanging got some microbeads and curled up wire in two metallic tones, since I couldn't decide which one to use! I added the teensiest bit of Cloisonne High Gloss Crystals for the head. I popped the butterfly up with several thicknesses of foam tape to give my otherwise flat piece some dimension and to make it look as if he were flying through a window. I used Cloisonne High Gloss Crystals on the butterfly brooch bodies (say that 5 times fast!) and various wires curled up for antenna.
My foil tape edging was inspired by Cheryl Grisgby and her wonderful altered phone box. I tried using Tissue Tape, but the colors didn't quite look right. So I reached deep into my stain glass supplies (I haven't even looked at them in years!), pulled out the foil tape, and Eroded Metallic'd it, too! This was another surface that this technique worked very well on. I used Antiqued Bronze and Tarnished Brass for the technique here.

So there you have it! Each one of my elements on my wall hanging got the Eroded Metallic treatment! I want to thank the Curiosity Crew--each one inspired me, through their lovely artwork and by encouraging us to practice this technique. That was very good advice!


Thank you for stopping in, and for all your lovely, encouraging and inspiring comments! I read and appreciate every single one of them! Hugs and Blessings!
Sara Emily
I would like to enter this into the following inspiring challenges which also happen to be five of my favorites:
Mixed Media Monthly Challenge #13 "A Year of Choices" I chose Challenge #8 "New to You" because I wanted to use some of my newest Tim Holtz buys: Butterfly Duo die and Phrase 2 stamps and try a new Tim Holtz technique. I also wanted to try using one of my old crafty items in a new way!

Our Creative Corner "What Makes You Smile?" White puffy clouds in a blue sky and rust...and trying new things!
Other products are mentioned in the text.