Wednesday, June 14, 2017

French Court Garden Canvas-Frilly and Funkie-'You're My Inspiration'

Welcome, crafty friends and visitors! Have you heard that I'm one of the newest DT members on the Frilly and Funkie talented Design Team?  Dreams do come true! I am so honored and thrilled to pieces! I'm even more excited, because my good friend Autumn of SewPaperPaint is the other newest member of the team!


Yes! It's official! So let's get down to business!


Today I'm sharing my first creation for Frilly and Funkie as a Funkie girl for the current challenge 'You're My Inspiration'. Nancy is hosting the challenge and this is what she says:

"Find any type of image or photo that inspires you and create a vintage or shabby chic project based on that image or photo (you don't need to actually use it in your project). Please post the image on your blog along with your project, and tell us what it is you love about it."

I saw  this beautiful garden in my May issue of Southern Living and couldn't stop staring at it, thinking of ways I could achieve this French Quarter/Charleston garden vibe in my own yard. Since I don't have brick walls or much shade in my garden, I thought at least I could re-create this beautiful garden on canvas. (Sorry for the poor photo; I took it awhile ago for the inspiration, and have since recycled the magazine.)


Photo heavy post--my apologies!

I chose an old canvas from my stash, coated sides with black and front with white gesso. I laid the gesso on thick on the front to give a textured base for my foliage. I scraped Wendy Vecchi Crackle texture paste and Ranger Grit paste through several Tim Holtz layering and mini stencils on the sides and front to create the look of foliage, a roof and brick. Yes, the perspective and scale is a little off, but that's me taking creative license!


Are you dizzy yet?

I scraped Prima Limestone Stone Effect paste on for the 'walls' of the house. I love the subtle texture this paste gives!  When dry, I colored my scene with a variety of Distress stains, paints, Oxides, and inks.  I embossed with a tiny bit of Emerald Creek Burnt Copper Leaves Alure powder on the roof lines and smeared on some Viva Rusty Paper. I didn't like the shine of the  embossing powder, so I went over it with Distress crayon.


I did some background stamping using the 'birch' of Tim's Birch and Pine stamp set and Olive Archival ink. Lastly, I splattered with white acrylic paint and Peeled Paint Distress Oxide.


The 'shutters' are Kaisercraft Flourish Borders inked with Emboss it Dabber and heat embossed with Emerald Creek Oil Rubbed Bronze Alure powder for the ironwork and painted with Prima Art Alchemy Metallique Light Patina paint and Black Soot stain on the louvers. I made a gate using a Spellbinders die, and colored it with the Light Patina paint and heat embossed with a sprinkle of Emerald Creek Burnt Copper Leaves.


I love the moss covered pottery in the magazine photo! I have a few mossy pieces in my own garden--the mossier the better! I used Prima's Baroque 6 mold and paper clay, using just part of one of the recesses and shaped into 'pots' while still pliable. I brushed on Limestone Stone Effect paste to give it a nice texture and painted with Rusty Paper and Distress paints-Rusty Hinge, Ground Espresso, and Peeled Paint.


To fill my pots with pretty foliage, I die cut Tim's Wildflowers #2 Thinlits (just the top of one of the 'weeds') and colored them with stains. The stenciled and pasted flourish design fills in for more foliage, and I smeared over it with Distress Crayons in Peeled Paint and Vintage Photo. I dyed a trio of tiny flowers from my stash with Distress Oxides to represent the plumbago in the inspiration photo.


My garden quote is Tim's Clippings stickers, adhered to chipboard and smeared with Distress Crazing Medium and Vintage Photo crayon. All dimensional elements were adhered with Ranger Collage Medium. I swiped the edges with Vintage Photo Distress crayon to finish my canvas. At the last minute I realized my pots needed some shadows, so I mixed up a batch of Collage Medium with Prima's Mini Art Stones and smeared this under the pots. When dry, I highlighted with Distress crayon. Now I'm done, and I can go play in the garden.


I hope you'll be inspired to join our challenge for a chance to win a generous $25 shopping spree at The Funkie Junkie Boutique. Please hop over to Frilly and Funkie to see how the rest of my Frilly and Funkie team mates have been inspired by a photo.

I'm sharing with these challenges:
Mixed Media Monthly-Challenge #37 "A Year of Choices" I chose challenge #32-"Put a Stencil on It"


Thank you for your visit and lovely comments! I read and appreciate each and every one!
Hugs and Blessings!
Sara Emily

The following supplies were used and available at The Funkie Junkie Boutique: (If something happens to be out of stock, click on the 'back in stock' button, and you will be notified when it's back in the shop!)

Saturday, June 10, 2017

Guest Designer for Fashionable Stamping Challenges-Feminine Birthday Card

Welcome crafty friends and visitors! Today I have the privilege of Guest Designing at  Fashionable Stamping Challengeswhere the theme is  Make It Feminine, and I made this feminine birthday card for my Mom.


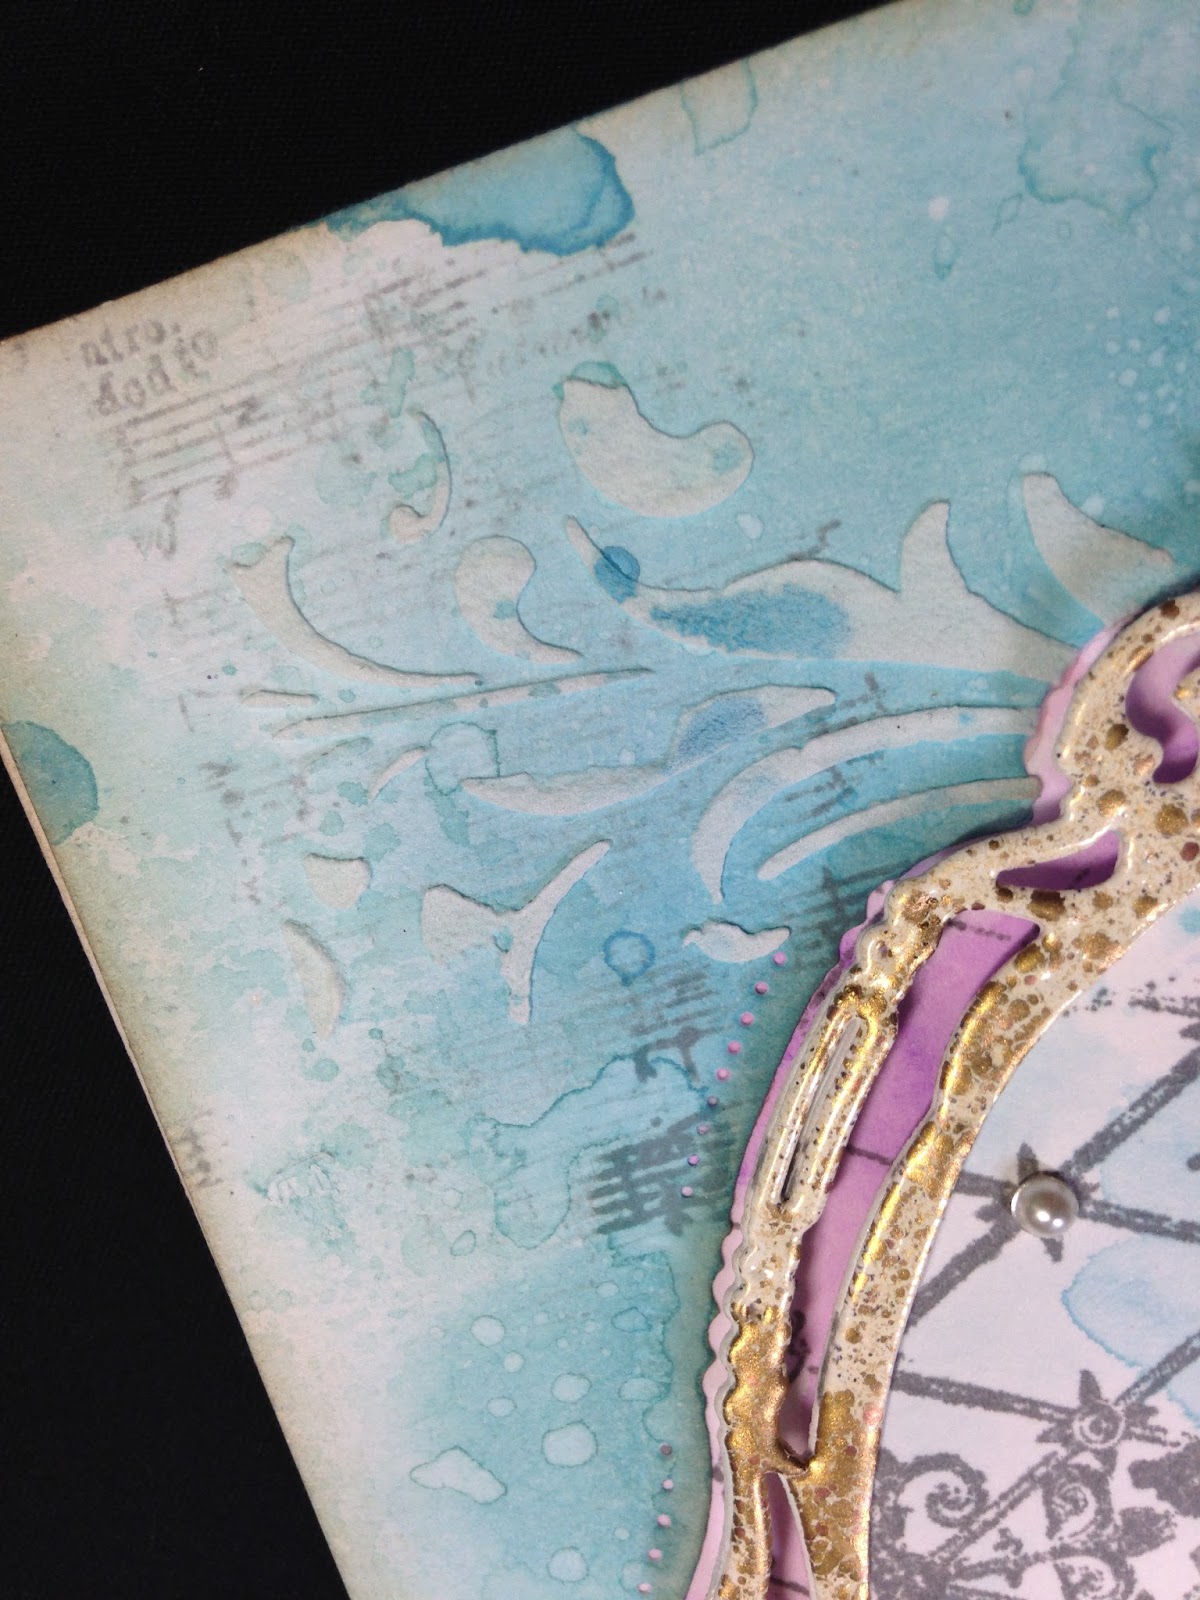
I took a photo of my background before adding my focal image and embellishments, so hopefully you can get an idea of those special surprises I love to include on my projects. I cut out my Spellbinders frame and kept the negative to use for the background. In the aperture, I made a panel blended with Wilted Violet Distress Oxide and stamped it with Stampin' Up's old chicken wire image using Watering Can Archival ink.


The blue panel is stamped with a Heidi Swapp stamp also in Archival and inked with Broken China DOX. I added some Tim Holtz stenciling with crackle paste and splashed on some more Broken China DOX. Frayed Burlap Distress ink went on the edges.


For my feminine focal image, I chose this old Great Impressions stamp and inked in Archival. I colored the details with a variety of Distress inks and Oxides and my water pen. I die cut the image using the same die I used for my background and added a few half pearls.


I made a frame from that  first die cut, by tracing around an oval shape and fussy cutting out the center. I heat embossed with Aged Ivory and Aged Gold Frantage powders. I love peeking under there to see the chicken wire.


The butterflies are Kaisercraft and the birthday greeting is Stampin' Up. I inked the butterfly stamp in Distress Oxide and colored with Distress ink, fussy cut and shaped them. The flowers, colored with Wilted Violet Distress spray, are from my stash.


A huge thank you to Shirley and the rest of the talented Design Team at Fashionable Stamping Challenges for inviting me to be their Guest Designer today! Be sure to visit the blog to see all the feminine inspiration! Thank YOU for stopping by today and for all your inspiring comments.
Hugs and Blessings!
Sara Emily


Thursday, June 8, 2017

Emerald Creek Dares-Surf and Turf

Hello crafty friends and visitors! Today I am sharing a tag I made for the 'Surf and Turf' challenge at Emerald Creek Dares. Please be sure to stop by the blog periodically , as Design Team members and Guests alike with be featured throughout the month.


Which is the 'wonderful creature'? I think it's pretty obvious which is the 'surf' creature on my tag, but can you spot the 'turf'?  If you guessed a bat, you would be right!

To make the background  I used Tim's Batground Stencil and Archival ink on tissue wrap. I applied the stamped tissue wrap with mod podge to tag, wrinkling and drying. I was going for a murky underwater seaweed-y look.  I applied stains and Fractured Ice embossing powder, and heat dried. I used chalky paint and Splatters stencil for bubbles and splattered  paint over the tag.


The Cerith Seashell stamp was inked with Broken China DOX and spritzed lightly with water. The impression was made, and while wet, I applied Fractured Ice Crystals. Heat til bubbly. I added Worn Lipstick DOX with my water pen 'inside' of  the shell. I blended with Distress inks and fussy cut. Some lace was dyed with stain and spritzed with Perfect Pearl spray. Jeweled Brads were painted with chalk paint, dried and wiped back. The seahorse is made from paper clay and a mold. I heat embossed with Fractured Ice and Black Onyx embossing powders and sprayed with Distress Spray in Mermaid Lagoon. It's really much prettier in person, but I couldn't get the camera to focus on the texture. I adhered some die cuts, Gemstones, micro beads, shells, and a Tim Holtz Clipping sticker to finish it off. Can you see where I've cut apart a Snowflake charm to mimic the star from a sand dollar? The star from the real sand dollar fell out of the shell, so I glued that on, too, near the bottom left hand corner.


Now it's over to you! I can't wait to see what you will make for our 'Surf and Turf' dare! Remember, the winner receives a very generous gift voucher to Emerald Creek Craft Supplies!


Emerald Creek Dares
Emerald Creek products used:

Other products used that can be purchased at Emerald Creek Craft Supplies:
Distress Stains-Blues and Greens
Distress Inks-Broken China, Pumice Stone
Distress Spray Stain-Mermaid Lagoon

Additional products used: Tim Holtz Mini Holiday Greens Thinlits die, Tim Holtz Plain Tissue Wrap, Tim Holtz stencils- Batground, Splatters, Tim Holtz Crinkle Ribbon, Tim Holtz Clippings Stickers, Distress Oxide-Broken China, Worn Lipstick, Ranger Archival ink-Cobalt, Jet Black, Ranger Perfect Pearl spray, Ranger manila tag, DecoArt Everlasting Chalky paint.  Shells and lace are from my stash.

I am entering the following challenges:

Thank you for dropping by today and for all your fabulous comments!
Hugs and Blessings!
Sara Emily

Wednesday, June 7, 2017

Water Color Christmas Card-Scrapy Land Challenge #67- Anything Goes

Hello crafty friends and visitors! It's time for our newest challenge at Scrapy Land, and the theme this time is Anything Goes using a brand die that Scrapy Land  sells. If you're a regular visitor to my blog, you may know that I've been trying to keep up with my Christmas cards this year by making at least one per month. Here is this month's version.


I used SizzixThin Holiday Words Thinlits die for the sentiment. It is colored with Peeled Paint Distress Oxide and then given a coat of Stickles. The sentiment's backing card is blended with Worn Lipstick Distress Ink.


I used Sizzix Poinsettia Die and embossing folder to make the single poinsettia. It was colored with Distress inks in Twisted Citron and Worn Lipstick and again, I used the Stickles for the center. A little white acrylic paint and a sprinkle of glitter to make it more festive. I added some Sizzix Mini Holiday Greens (Thinlits) to give the eye somewhere to rest among all this pattern and color.


The background is made using a Tim Holtz stencil using the monoprint technique and colored with a variety of Distress inks and Oxides. To seal the color I gave it a coat of  Ranger Distress Collage Medium. It actually was prettier before adding the medium, but I'm happy the entire background won't disappear if someone spills water on it.

I used the same stencil and blended Peeled Paint DI through it for the design on the very back panel.

My seam binding ribbon was colored with Worn Lipstick DOX . I edged the background with Frayed Burlap and splattered the panel with white acrylic paint.


Now it your turn! Please pop over to  Scrapy Land and check out the beautiful inspiration from my teamies and then get out your dies and get creating! It's an easy one this time-Anything Goes! Just remember to use at least one brand die that Scrapy Land sells. We are changing up the prizes-now both a lucky random winner  AND a winner chosen by the Design Team each receives a generous $10 gift certificate to Scrapy Land and our Top Picks receive badges! We can't wait to see what you will make!

I am joining the following challenges:


Thank you for stopping by today and for all your amazing comments!
Hugs and Blessings!
Sara Emily


Saturday, June 3, 2017

Shine Brightly

Welcome crafty friends and visitors! I have a quick (less than 30 minutes!) card for you today, inspired by the 'Going Round in Circles' theme at Simon Says Stamp and my brand spankin' new circle die. I made this for my friend's daughter for her final dance recital tonight before she heads off to the Big Apple for college later this summer. She's been dancing since she was practically in diapers and she's a star!


The background was made using Distress Oxides, a Tim Holtz mini stencil, glass bead gel, and DecoArt's Metallic Lustre. I won the Lustre in a fantastic DecoArt prize package at SanDee&amelie's Steampunk Challenge earlier this year, but this is the first time I've used it-LOVE! The fun circle die cut is Impression Obsession. I used some of the off cuts to expand the circles. A Tim Holtz paper doll colored with Distress Oxide, a mirrored star, an appropriate Quote Chip colored with watered down Metallic Lustre,  and some white paint splatters finish off this simple fun card.


I would like to share this with these challenges:
As You Like It Challenge-Favourite Reason to make Cards (and why) I love making cards as small surprise gifts to my friends and family to make any 'non-occasion' special. Most people seem genuinely pleased to get a homemade card, especially when it's 'just because'.

Thank you for your visit today and for all your kind words!
Hugs and Blessings!
Sara Emily