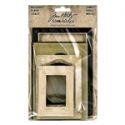
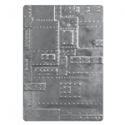
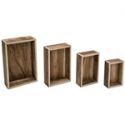
These frames are great little goodies to have in your crafting stash and fun to use altered or straight out of the package. I hope you can pop over to Frilly and Funkie to see all the details and to check out my tutorial there on how to create a rusty Baseboard Frame using Tim's 3D Foundry Texture Fade.
Challenge shares:
Crop Stop July Link Party - #41 anything Goes Twist-wood
Country View July 2018 - In The Summer Garden
The Artistic Stamper Distress It (card only with background stamping)
Crop Stop July Link Party - #41 anything Goes Twist-wood
Country View July 2018 - In The Summer Garden
The Artistic Stamper Distress It (card only with background stamping)
Simon SaysStamp Monday Red,White and/or Blue
Simon Says Stamp Wednesday Red White and/or Blue
Scrapy Land Challenge #93 Anything Goes
Love 2 Create Challenge #10, Anything Creative/Mixed Media Goes
Let's Craft and Create Challenge #139 - ANYTHING GOES + option RED, WHITE & BLUE
Simon Says Stamp Wednesday Red White and/or Blue
Scrapy Land Challenge #93 Anything Goes
Love 2 Create Challenge #10, Anything Creative/Mixed Media Goes
Let's Craft and Create Challenge #139 - ANYTHING GOES + option RED, WHITE & BLUE
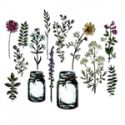
Die Cut Divas Anything But a Card Vignette only. I used Flower Jar die cut.
Thank you for your visit today and for your wonderful comments!
Hugs!
Sara Emily
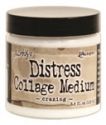
Here are the products I've used, which are available at The Funkie Junkie Boutique:




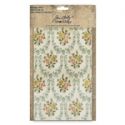
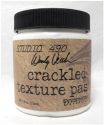


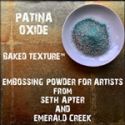



Just saw all the amazing details on these projects plus one over at Frilly and Funkie. Love how you showcase the paper dolls to perfection!
ReplyDeleteThey are so amazing, Sara Emily!! I love the designs and the gorgeous details you added!! Headed over for all the deets!! Have a great weekend!! Big hugs :)
ReplyDeleteLisa
A Mermaid's Crafts
A fantastic showcase over at F&F today - I love all the inspiration you've provided with those frames - and the weathered effects on the Foundry one are just amazing!
ReplyDeleteAlison x
Absolutely gorgeous!! Love all the fun details you include! You rock when it comes to mixed media! So happy you linked this up to Cropstop!
ReplyDeleteSara, your pretty framed creations are always lovely works of heartfelt art. So beautiful. Hugs, de
ReplyDeleteUtterly delightful Sara xxx
ReplyDeleteOh my goodness, Sara Emily, these are just stunning! From the crazing to the worn wallpaper that you beautifully stenciled over with the vintage couple, your card is gorgeous and your nephew and fiancée will treasure this. I am in awe of your home décor piece made for your daughter. Your vintage finishings are always amazing, and I love how you wrapped your sentiment along the bottom of the finial post - so appropriate with the dolls and since that's your saying with your daughter. My very favorite thing you did was adding that adorable altered charm bracelet that you found at a yard sale. That is so clever and PERFECT! This is a perfect gift for your daughter, just precious. Hugs!!!
ReplyDeleteTwo fabulous projects Sara Emily, so many gorgeous details and a great tutorial on F/F. Love the rusty effect you achieved on the 3rd fame and look forward to seeing it used.
ReplyDeleteAvril xx
Super cute!!! Thank you for joining us at Let's Craft & Create, good luck!!! Amy DT
ReplyDeleteSara, these are gorgeous! I love your "romantic" type pieces. they have such a real vintage feeling to them!
ReplyDeletehugs,Jackie xx
Wow! These frames are stunning. I love the vintage photos and all your layers. Thank you so much for joining us at Simon Says Stamp Wednesday Challenge!
ReplyDelete♥ Mindy
Cool projects! So glad you joined us at Die Cut Divas.
ReplyDeleteOh these are so romantic. I adore them. Love the layering and the prints and the frames and and the paper dolls. Beautiful. Hugs -- Mary Elizabeth
ReplyDeleteBeautiful florals sara... seems an age since i've been over here...apologies! Thanks for joining us at countryview and good luck xxx
ReplyDeleteA really lovely array of beautiful creations. Such a lot of beautiful details and love the vintage look.
ReplyDeleteThanks for joining in with nature challenge at That's Crafty! and wishing you good luck.
Fliss DT x