Sunday, November 30, 2014

Christmas-y Things

Hello, everyone!  I hope you had a wonderful Thanksgiving weekend, and you are ready to get in the Christmas spirit!


This box started out as this non-descript rubbery-acetate-y thing.  I thought I would store craft stuff in this set of three I picked up at a yardsale.  But a trip to Pinterest got me thinking what a beautiful Christmas decor box this could be.  I am also a collector  hoarder of vintage jewelry- broken, whole, damaged--whatever!  It can be used for something.  Here was the perfect opportunity.  So you will find a pair of clip-on earring amongst the mess. Following are 4 photos--one from each side.


My daughter has expressed her love of this creation, and has inquired as to where it is going to end up.  She has been so helpful to me in getting my photos uploaded to my blog, that I am going to fill it with some "horse" money and gift it to her. Enjoy, Lauren!

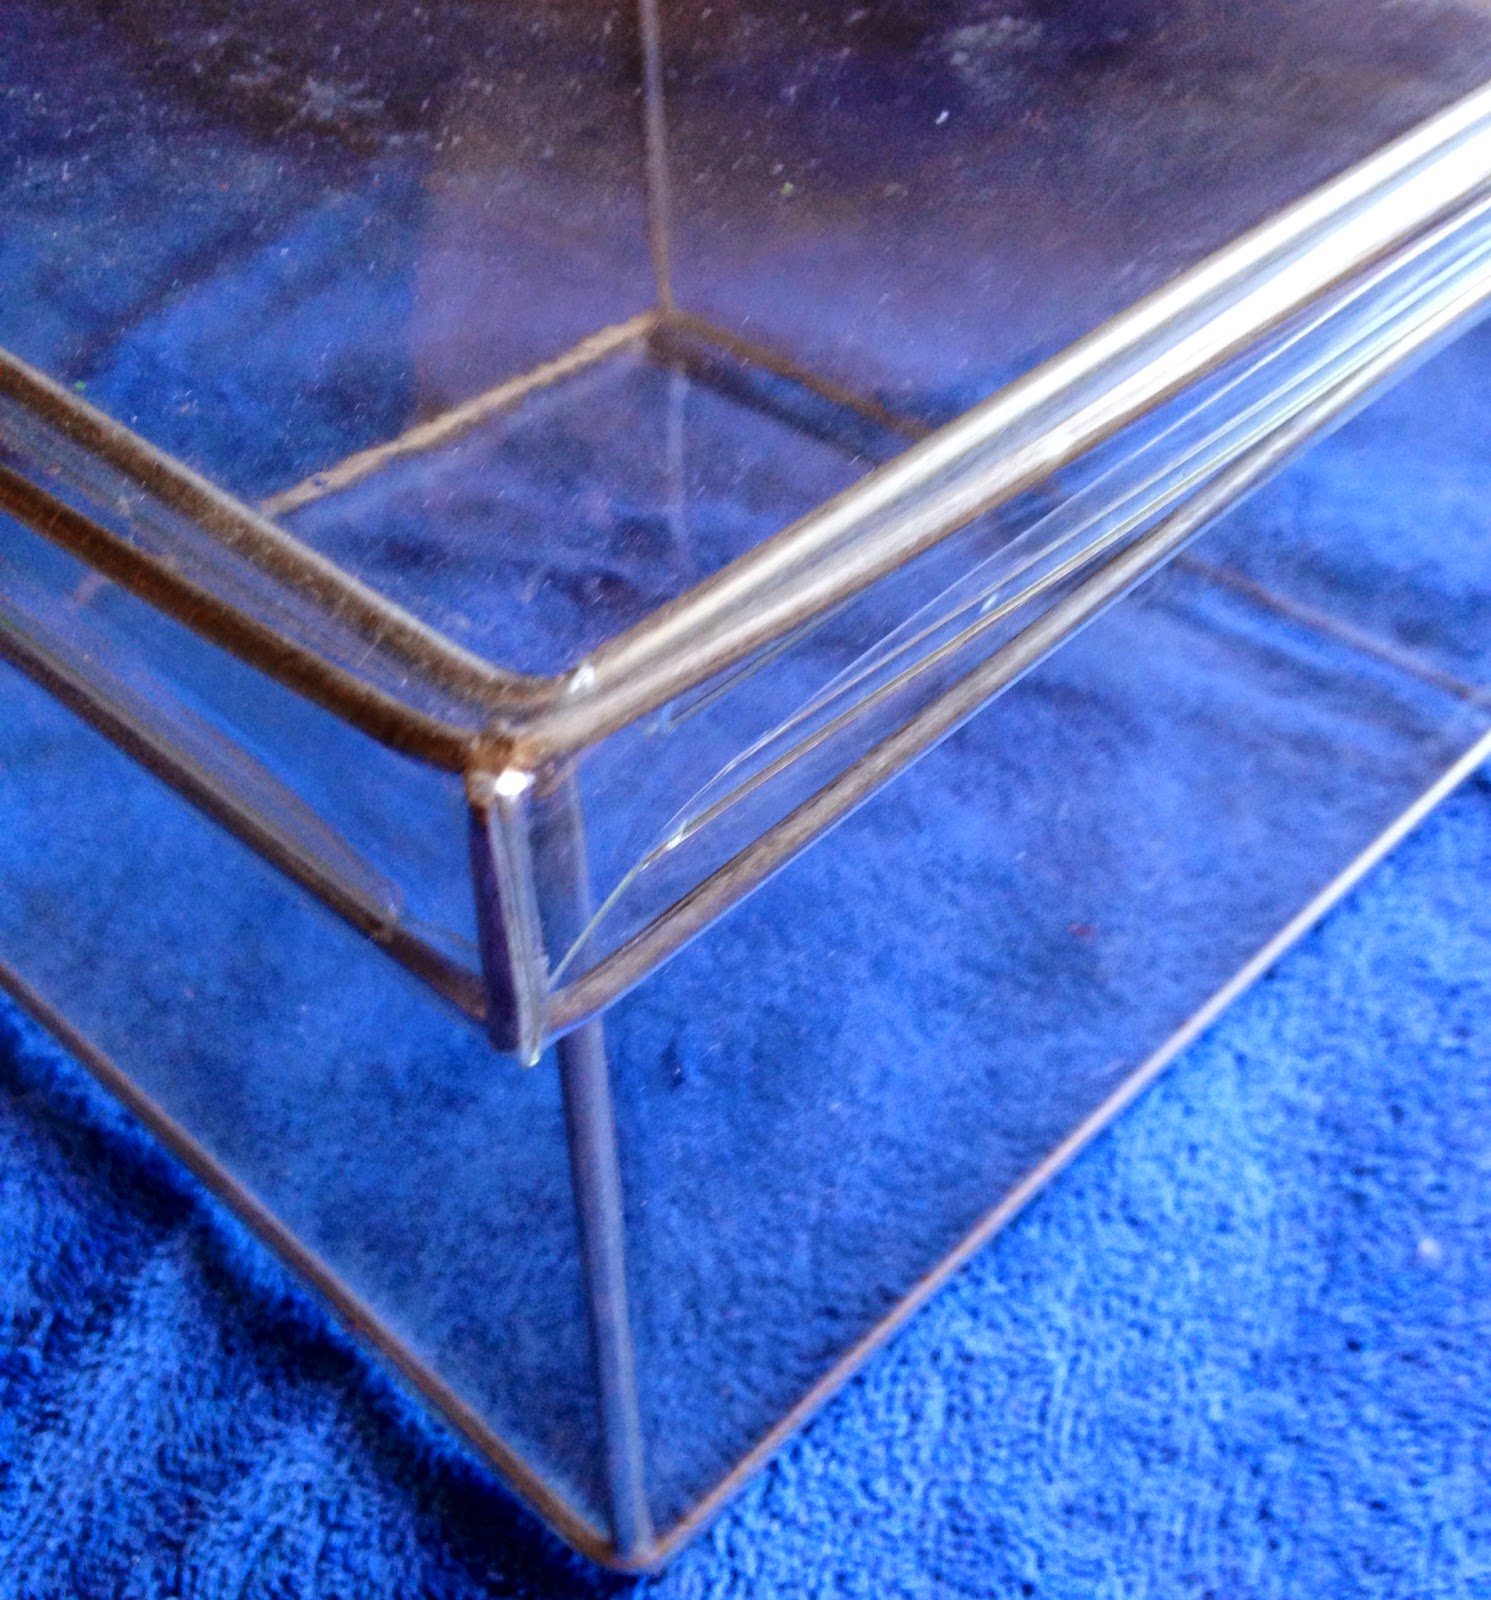
The box was treated to some alcohol inks, then HEAT embossed with Holographic embossing powder on the inside and white embossing powder on the outside. I also used the Holographic EP on the edges of the lid and the corners of the box on the outside.  Yes!  You can heat emboss plastic if you are patient!  Thank goodness there was an extra lid in the set of three, because I got to test all my techniques on that first.  Of course, the test came out better than the finished product!

I altered two silver Christmas balls with Mod Podge and Epsom salts, and two leaves from my flower stash with Dylusions and Tattered Angels sprays, followed by the Epsom salt treatment.  I am sold on this, and will be selling my jar of Diamond Dust to the highest bidder!  That stuff was tearing up my hands, and I'm sure it's not good for my kitties paws.


The pinkish ball was done with 15 squirts of water from my mister and a couple of Sweet and Low spoonfuls of Perfect Pearls powders (yes, I hoard Sweet and Low spoons in my Embossing Powder drawer--you should try it, they are really handy!) and left to drip dry for days!


Now for a BIG hug to Pamellia for her tutorial on UTEE!  I have never used this stuff before, but after her great easy to follow instructions, I knew I had to break out that 15 year old jar for this project.  I had to add on a few more layers, though, and in addition to the white embossing powder layer, I added a layer of Holographic EP, before finishing up with several more layers of UTEE.  Suffice it to say, these buggers are thick and I have no more fingerprints on my fingers! A couple of cheap silk flowers were harmed in the making of my poinsettia stamen.  Thank you so much, Pamellia for helping me to take a step out of my comfort zone to give UTEE a try, and for your wonderfully easy to follow and informative tutorial! If you haven't seen it yet, be sure to visit the link above.


Apology:  Sorry for all the similar close-ups, but I was trying to get that Holographic powder to show.  I couldn't decide which to eliminate!

A few gold bells treated to alcohol ink to make silver "Jingle" bells , a few pieces of costume jewelry,  and some pearls and pearl stems from my stash finished this sweet little box off. This has got to be my most time consuming project yet with all the layers of UTEE and embossing powder on the poinsettias and the alcohol inks, and such.  But a blast to make and a proud moment for me when it was done:)!


 Thank you so much for your visit to my blog and  for any sweet comments you choose to leave.  I read and try to respond to each and every one!

I would like to enter this in the following inspirational challenges:

Craft Hoarders Anonymous #20 "Box It Up!"

Divas By Design "Jingle Bells"

Inspiration Journal "Happy Holidays!"

Stamplorations "Stamps and Layers"

The Artistic Stamper Creative Team "Christmas Is Coming!"

The Mirror Crack'd From Side to Side #3 "Christmas Decorations"

Products used:  Stamps by Autumn Leaves Fourishes v.2,  Versamark embossing ink, white and Holographic embossing powders,  Ranger alcohol inks, Perfect Pearls powder, Tattered Angels Glimmer Mist, Dylusions Ink Spray, Tim Holtz' poinsettia die, clear UTEE, Mod Podge, Epsom salts, and junk from my crafty hoard.


Wednesday, November 26, 2014

Snowflake Sparkle

I am loving Tim's Snowflake Layering die and have come up with another tag.  I wanted to add some sparkle to this one and use the entire snowflake, so I've taken a little creative liberty with Tim's challenge.

I started by using a larger tag which I hand cut out of smooth white card stock, similar in texture to Tim's tags, so the Distress Paints worked very nicely on it.  I used several Distress Paints and marblized them according to Tim's tutorial, this time adding in a smattering of Perfect Pearl turquoise powder to the paints on my craft mat. I dried with a heat gun, and smooshed the tag in the paints/pearls/water puddle several more times, drying between layers and after the final layer. (Paints used: Weathered Wood, Salty Ocean, Iced Spruce, Picket Fence, Gathered Twigs, Chipped Sapphire, and Seedless Preserves)

I embossed the painted tag with the included snowflake folder and then swiped on some silver metallic rubs from my stash with my finger to the raised areas. I did this in place of the step where Tim uses Distress Ink on his embossing folder. I set the tag aside and gawked at it's beauty.  I was thinking about not covering it up with that cardboard, but I think Tim is expecting a certain level of compliancy with his instructions!


Next, I cut a piece of a white box, peeled off some of the paper to expose the corrugated board,  and die cut the snowflake.  I inked it randomly and around the inner and outer edges (after distressing the outer edges) with Weathered Wood Distress Ink using an ink blending tool.


I stamped the snowflakes from Tim's Christmas stamp set using Tumbled Glass Distress Ink, added some Holograph Embossing powder to the larger of the three and heat embossed.  It's a great effect when viewed in person.

I spritzed  the cardboard with Perfect Pearl Turquoise Mist randomly and allowed this to dry. When dry, I spread some Texture paste through Tim's Christmas Layering stencil, sprinkled some embossing powder over this and allowed to dry overnight.  When dry, I heat set the embossing powder.

 I swiped on some Multi Medium Matte and added  some cellophane flakes.  I added it in several areas where I wasn't pleased with the peeling of the cardboard and at the bottom of the tag. I love the icy look it gives my tag.

This was taken in the light of my computer screen...ahhh! Technology!

I altered a few Idea-ology metal pieces using Distress Paints (Picket Fence and Chipped Sapphire), Perfect Pearl turquiose powder and Distress Effects Powder (Vintage Photo) and my heat gun and added them to my tag.  I swiped some Distress Paint on my Trinkets fastener to highlight the word "Fragile" and the numerals, then wiped off the excess when partially dry. I set this aside.


Terrible lighting makes this appear orange...I assure you...it's not orange or even close!


I swiped some Distress Stains on my craft mat, and spritzed with water, swiped a length of Crinkle Ribbon through the puddle, and spritzed the colorized ribbon with water to blend the colors more.  I crinkled it  lightly and allowed this to dry.  (Stains used:  Stormy Sky, Broken China, Tumbled Glass, Weathered Wood, Chipped Sapphire, Salty Ocean, Faded Jeans, Seedless Preserves, and after the others were applied and dried,  Brushed Pewter for extra shine)


The dried ribbon was tied into a Paula bow, and I inserted a piece of wire in the back of the knot.  I had a short length of  colored ribbon left over, and  I looped this through the tag hole. The wire of the bow was inserted, too and tied off in the back of the tag. I added my Trinkets to the front of the bow to finish the tag.


I hope you enjoyed seeing my second tag.  I appreciate your visit to my blog and love reading all your wonderful comments.  For those that are celebrating Thanksgiving this week with out of town family, I pray for safe travels for you, and those who are at home, enjoy a peaceful day!

 I would like to enter this into the following inspiring challenges. Please pay each a visit and consider linking up a project of your own!:

Tim Holtz 12 Tags of 2014 November

The Mirror Crack'd From Side to Side #3 Christmas Decorations

Inspiration Journal "Happy Holidays!" Snowflakes remind me of Christmas and I'm decorating my tree with snowflakes this year, thanks to Tim!

The Artistic Stamper Creative Team November's Creative Challenge "Christmas is Coming!" I always associate snow with Christmas, and this year I'm putting lots of snowflakes all over my tree!

Stamplorations November Challenge "Stamps and Layers" Snowflake stamps and layers of paint, paper, cardboard, texture paste, embossing powders, cellophane flakes, etc and so forth!

Artist Trading Post Exchange "Stencil Mania"  Tim's Christmas Layering stencil used with texture paste and embossing powder.

Divas By Design "Let It Snow!"  Oh, durn!  Just missed the link-up!

A Gift (or two) From My Heart

WARNING!  Long post ahead!  I've been busy in the Closet!

Christmas is coming, and in our home, we make hand made gifts for each other.  Sometimes we draw names, and make a special gift for that one person.  A few years ago, my daughter drew my name and made an altered book for me, after taking an altered book class with me.  It is a treasure and even more meaningful because we got to share the experience of learning together. It's usually a flurry of activity at the last minute, because we are a family of procrastinators. (Not ME, though, of course!)

I bought her a special pair of hand made (by another artist) earrings for a gift for Christmas. When the store owner asked if I wanted a box, I declined, knowing the box would have to be special, too. Here is the box I made for her earrings--a gift to house the gift.


I started by grabbing everything out of my stash...box- I have lots of these paper mache boxes in lots of shapes in my hoard-check; designer paper- check; card stock- check; Mod Podge- check; Perfect Paper Adhesive--check; ribbon-check; embellishments-check, check!

I painted my star shaped box with gesso, dried, then  with white acrylic paint and dried again. Once completely dried, I spritzed the inside of the box and lid with Perfect Pearls Mist (Bubblegum).  If you look closely, you can see the pretty sheen inside--I assure you--much better in person.

 Meanwhile I worked on the embellishments.  A white pearl, tiny white pearls on a strand and a lace applique were all altered with Distress stains and alcohol inks and allowed to dry.

I made the flowers using (white card stock which I inked up with Distress Inks) Tim's Pinecone die.  I inked the edges of the die cut cardstock ever-so-slightly with Vintage Photo before twisting them up into a small rose and two tiny rosebuds, and then again, on the very tips, after assembling.

I cut and glued designer paper (I don't know the name--it's all just thrown in together by color or theme) for the lid and the sides and bottom of the box.  (I used Perfect Paper Adhesive for this and it does the best job.) Once glued and dried, I took a bone folder to smooth all the edges, glue down anything I missed.  I inked the bottom of the box with Distress inks to give it a vintage feel and the lid as well (this paper started as pink dots on a white background--I never think to take before pictures!)


Lastly I glued ribbon around the edge of the lid and added my embellishments, flowers, and a piece of tulle from an old petticoat.


I think Lauren will love her gift(s)!

While the mess was out, I decided to make another...and another...and a few more!

This is one I made for my son, Ethan.  A little more masculine, but still Christmas-y.  I'm not sure what this will hold, but possibly a check or a note to find something else.  Sometimes a gift is too big to wrap, and we have to hide it. Or a key to a new car!  HA! HA!  Just KIDDING! I just have no clue what to get a 16 year old boy! But he'll get a hand made box, that's for sure!


The box was prepared as above, using different colors and paper, obviously. Christmas-y fiber and Tinsel Trim around the edge of the lid.


I used Tim's Pine Cone die again, but this time for the foliage, painted with Paint Dabbers. Chipboard was  covered  in paper I copied from a Christmas Hymn book, die cut with Tim's Reindeer Flight die,  and distressed with Distress inks. All pieces were treated to a sprinkle of Diamond Dust.


Tinsel twine was used for the wreath around the deer's neck with two tiny bells attached on a jump ring.

(I forgot to take a photo of the back, but I chose the portion of the paper that had Santa and his reindeer flying across the sky. This is beautiful paper, and wish I had more!)

I hope Ethan will like this enough to overlook the fact there is no key in it!

While I was at it, I made these other boxes for little Christmas gifts of jewelry, gift cards, etc.  I won't go into detail about each box, but each was prepared as the first one except I did not spray with Perfect Pearls.  I chose various papers from my stash and decorated each in a unique way...all stuff from my crafty little hoard!  These jewels were a real challenge to place on the tree--so tiny! And since they were so old they had lost their stickyness, so each had to be glued on!


I used some Jolee's stickers and a little hand cut (decorative scissors--when's the last time I used those?) and stamped postage stamp on this one. Vintage pink rick rack for the edge of the lid. This will go to my Mom, since she lives in Florida.


Next up is this simple little tree adorned with a rosette cut with  Tim's Mini Paper Rosettes Decorative Strip die.  The flower is from my stash--Recollections, I think, straight from the package--no altering done. Finished with Stickles dots and ribbon from my stash. Getting the paper right on these trees is the real challenge and let's just say, there were many cutting mistakes!


 Next to Lauren's, the next box is my favorite.  Sister gift here...she raises and sells poinsettias at her nursery--Hilltop Farms outside of Springfield, MO.

I used Tim's Poinsettia die and Texture Fade for this, using the smaller two poinsettias  for the flower and the larger one for the leaves. I cut this from water color paper, which makes the inking just gorgeous (Distress Inks, of course!) and shaping easy-peasy. Stickles for the center. Sprinkled with lots of Diamond Dust--a crafter's best friend from Halloween through New Years! Again, a few cutting errors with this paper!


That line on the left is part of the design on the paper, not an inking error on my part!


Now,  I'm a little ahead of the game, thanks to the challenges over at Craft Hoarders Anonymous and Frilly and Funkie.  Craft Hoarders Anonymous challenges us to use our hoard and decorate a box--any kind of box. Frilly and Funkie  wants to see what kinds of gifts we are  making.  These are truly gifts made from my heart.

I would like to enter this into the following inspiring, fun challenges.  I hope you are inspired to link one of your creations up to one or all of these challenges:

Craft Hoarders Anonymous Challenge #20 "Box It Up!"

Frilly and Funkie "A Gift From the Heart"

Art With Heart Challenge November: "Favorite Recipes" I don't have any of the kitchen dies, but I did use a creative "recipe" over and over again to create my boxes, just added different "ingredients"!

Inspiration Journal "Happy Holidays!"

Rhedd's Creative Spirit November Challenge "Anything Goes" (as long as it's altered art) I altered these paper mache boxes!  And lot's of dies, papers, and other stuff was altered in the process!

The Artistic Stamper Creative Team November's Creative Challenge "Christmas is Coming" Yes!  There is rubber stamping on my postage stamp on the flamingo box! I hope you didn't miss it! (I don't have the maker--it was one of those loose random stamps in the drawer with all the other postage rubber stamps.)

It's All About the Vintage and Beauty #80 Home Made Embellishments I made my own roses, poinsettias, rosette, postage stamp, reindeer and foliage, and reindeer jingle-bell wreath collar.

The Mirror Cracked From Side to Side #3 Christmas Decorations

True Friendship

Hello, again!  I'm back to try my hand at that sewing machine one more time.  This time I made a card especially for a friend, who tells me she likes things a little on the frilly side, who has beautiful penmanship and who likes butterflies.  She also sews and picks up an occasional book.  SEW...I put all this together to make a card for her that celebrates all those things.


My background is from Tim's Wildflower Paper Stash. I stamped the sentiment from Tim's Heartfelt set in Archival ink and sewed around the perimeter of the panel.  I tied off the long threads into a sweet bow in one corner. I distressed and inked the edges of the panel with Walnut Stain Distress ink.  I glued this panel onto my card blank using Perfect Paper Adhesive.


I die cut the dress form from Tim's Sewing Room die on a piece of waste chipboard and embossed it using Tim's Woodgrain Texture Fade.  I inked the recessed side with Walnut Distress ink before inserting the die cut and embossing to leave ink on the embossed piece.  Next I inked the dress form with Brushed Corduroy and inked one edge with Walnut Stain to make a shadow--well, I tried to make a shadow.

I die cut many book pages using the same die, cutting just the "body" of the form. I folded each in half and glued them together at the fold to make my 3D dress form.  I inked the edges in Walnut Stain and glued this to the chipboard dress form.  I made the skirt from petticoat trim.  I adhered the completed dress form to the card with dimensional glue dots.


The butterflies were die cut using Tim's Movers and Shapers with Tim's Eclectic Elements fabric, cutting 6 butterflies. I cut the wings off 4 of them and coated front and back of each piece with Matte Multi Medium and sprinkled them with Perfect Pearls powders.  I attached the 2 sets of wings to each of the whole butterflies, pinching them in at the body to make them 3D.  I allowed these to dry overnight.  Once dry, I painted each butterfly's thorax  with paints Distress Brushed Pewter and Copper Paint Dabber) and dipped them in micro beads.  Again, allowed to dry.


The antennae were made from pins which I painted with alcohol inks.  I cut off the pointed ends and bent them into antennae.  These were glued onto the dried butterflies. I used glue dots to adhere the completed butterlies to the card, bending the wings to make them appear to fly.


I hope my friend likes her card...I'm sure she will.  It has been sew much fun to make, knowing it was made with love and just for her.


Thank you for stopping by and for all your wonderful comments.  I sincerely appreciate each and every one of them. For those of you celebrating Thanksgiving, I wish you a day filled with peace and gratitude.

I would like to enter this into the following wonderful, inspiring challenges:
A Vintage Journey "All Sewn Up"
It's All About the Vintage and Beauty Home Made Embellishments My butterflies are home made.
Stamplorations "Stamps and Layers"
Frilly and Funkie " A Gift From the Heart" A home made card is a truly a gift!
Country View Challenges "Bugs, Bees, and Butterflies"